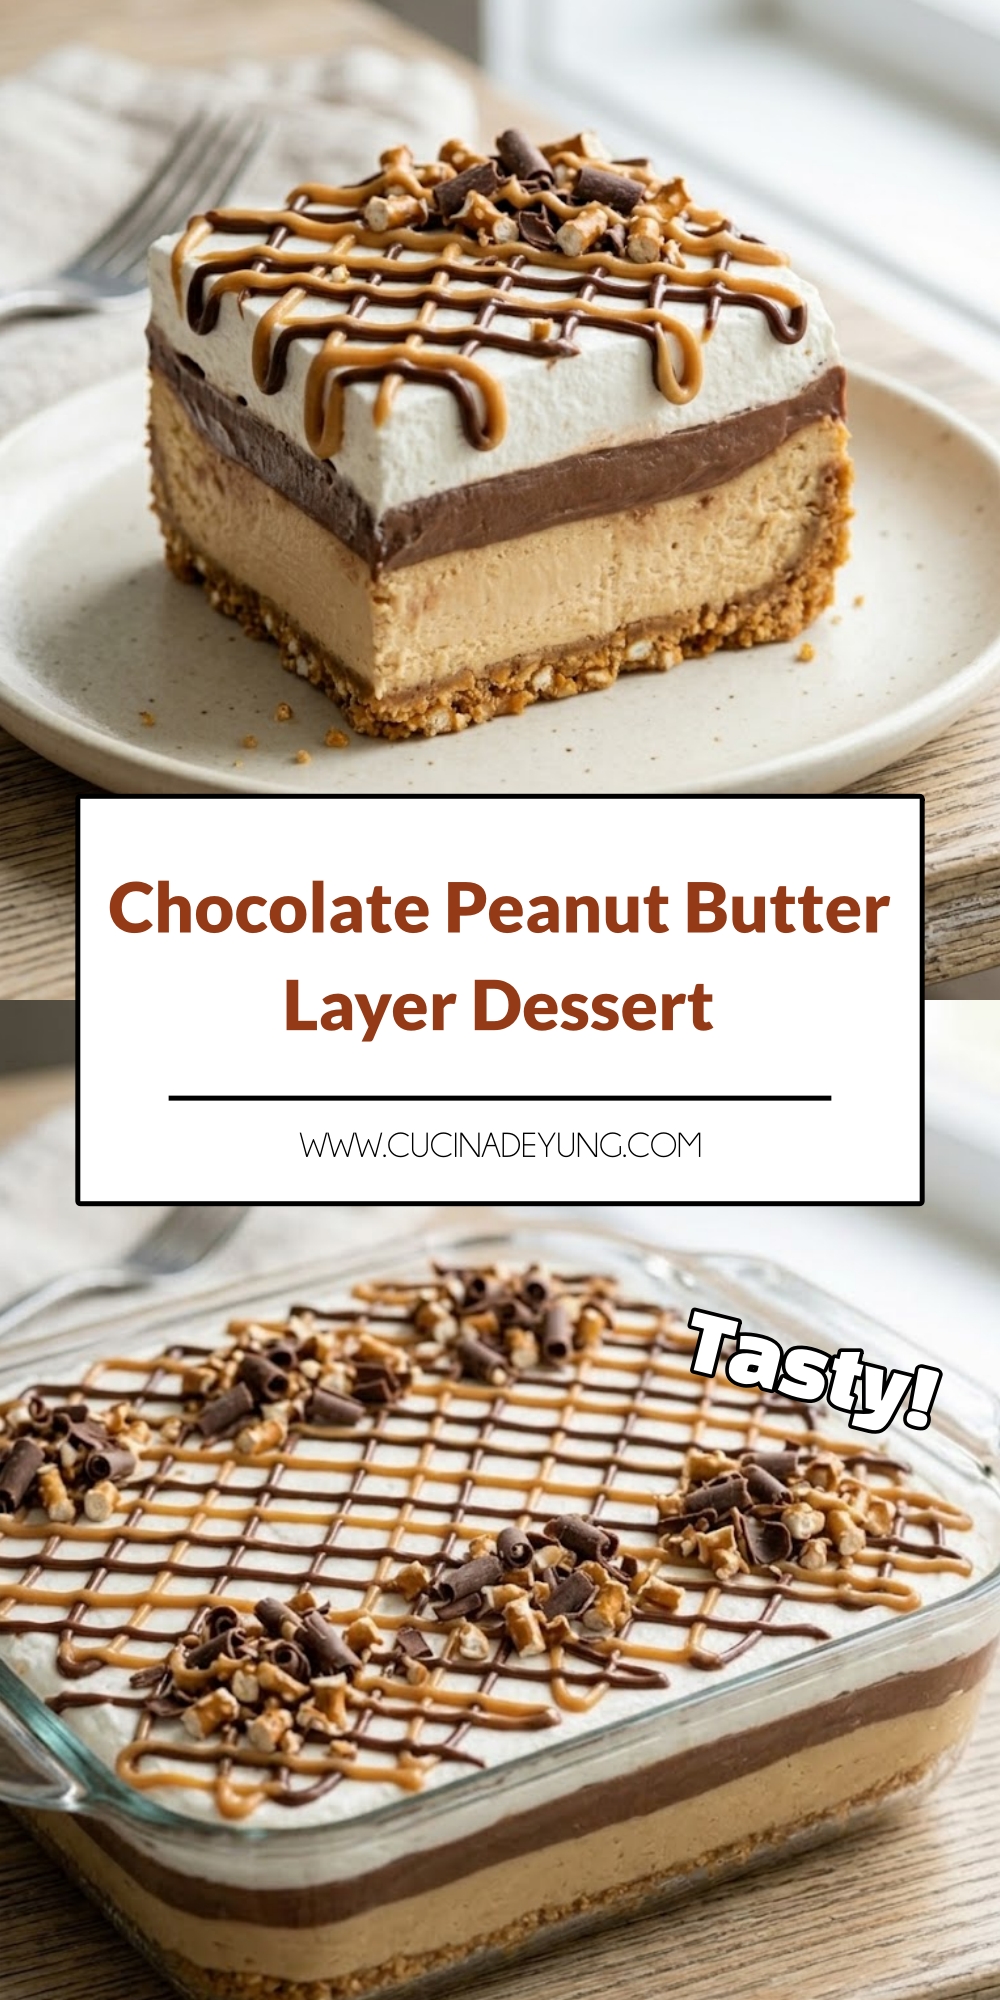
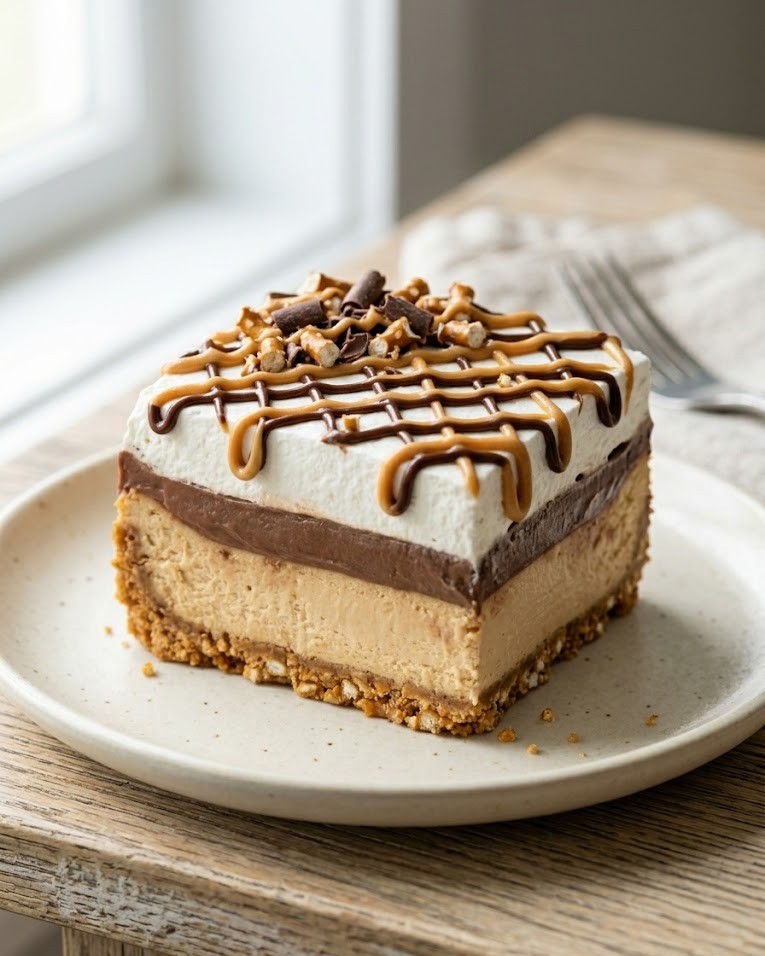
When you are looking for a show-stopping dessert that hits every craving—salty, sweet, creamy, and crunchy—this Chocolate Peanut Butter Layer Dessert is the definitive answer. Built on a buttery pretzel crust, this multi-layered masterpiece features a velvety peanut butter cheesecake filling lightened with fresh whipped cream. Topped with a dense layer of chocolate pudding, a rich hot fudge drizzle, and a cloud of whipped topping, it is finished with a decorative swirl of melted peanut butter. It is a sophisticated, “lasagna-style” dessert that offers a complex profile of textures and flavors in every bite.
Why You Will Love This Recipe
You will love this recipe because it masters the art of the “salty-sweet” balance. The use of crushed pretzels instead of a traditional graham cracker crust provides a distinct savory snap that perfectly complements the rich peanut butter and chocolate layers. It is an exceptionally crowd-pleasing dessert, as it can be sliced into clean, beautiful squares that showcase the distinct levels of cream and fudge. Whether you are hosting a summer barbecue or a holiday dinner, this dish is a reliable make-ahead favorite that stays chilled and refreshing, making it an effortless win for any busy host.
Chocolate Peanut Butter Layer Dessert
If you are searching for the best layered dessert recipes that combine iconic candy flavors with a gourmet presentation, this peanut butter and chocolate creation is a total essential. This recipe sits firmly in the category of icebox cakes and chilled desserts, offering a rich, melt-in-your-mouth experience that doesn’t require a heavy bake time. In the world of creative dessert assembly, finding a recipe that balances a crunchy base with multiple creamy fillings is the key to a successful party dish. It is the perfect occasion-based recipe for potlucks, family reunions, or as a decadent birthday alternative to a traditional cake.
The foundation of this Sweet and Salty Masterpiece starts with the pretzel crust. By baking the mixture of crushed pretzels, sugar, and melted butter for 10 minutes at 350°F, you “set” the base so it stays crisp underneath the heavier layers. This pro-baking tip is essential: letting the crust cool completely before adding the filling prevents the heat from melting the cream cheese. This culinary technique ensures a sturdy foundation that provides a necessary crunch against the soft layers of pudding and whipped cream above.
What defines this Peanut Butter Cheesecake Layer is the folding technique. By starting with a “sacrifice” quarter of the whipped cream to lighten the dense peanut butter and cream cheese mixture, you prepare the base for the rest of the cream without deflating it. This is a brilliant pastry hack, as it ensures the layer remains airy and mousse-like rather than heavy and leaden. Sealing the edges of the crust with this layer is a vital structural strategy, acting as a moisture barrier that keeps the pretzel base from becoming soggy when the pudding is added.
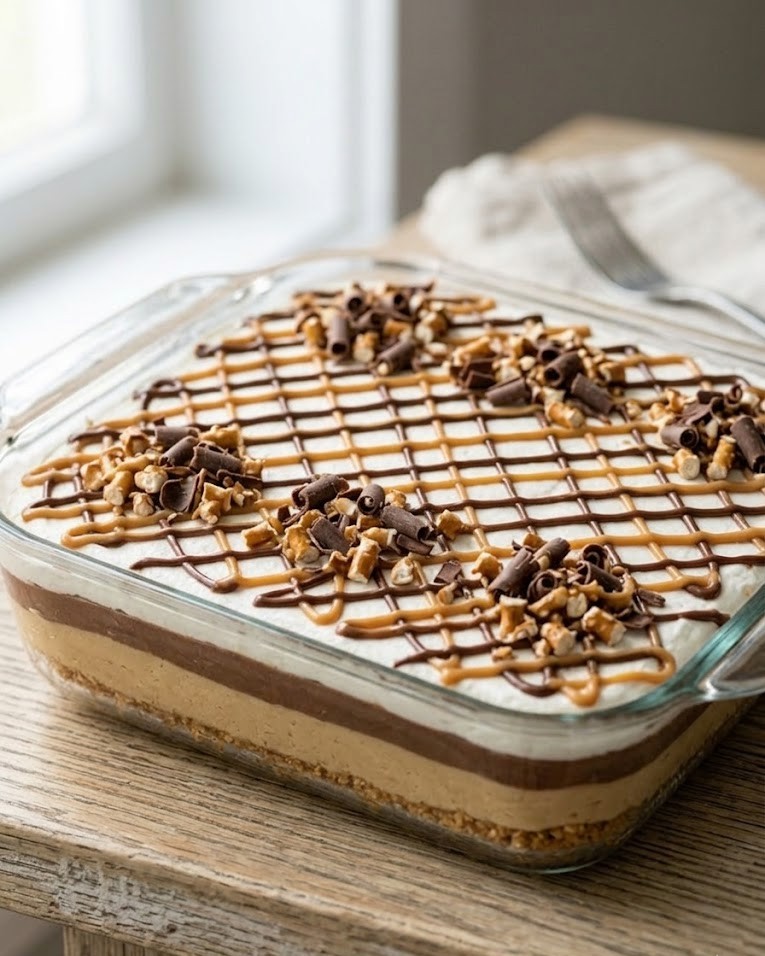
For those focusing on visual appeal and food styling, the drizzle technique is where the dessert truly shines. Using a simple sandwich bag as a makeshift piping bag to apply the hot fudge topping and melted peanut butter allows for professional, clean lines across the surface. This styling strategy—drizzling in opposite directions—creates a cross-hatch pattern that looks like it came from a high-end bakery. It’s a masterclass in aesthetic assembly, where simple pantry tools are used to create an intricate, eye-catching finish.
The versatility of this No-Bake Style Dessert makes it a “must-have” for hosts who prefer to prep in stages. While the crust requires a quick 10-minute bake, the rest of the assembly is a “build” process that can be completed hours before the event. Many home cooks consider this their “hero” dessert because it uses familiar staples like instant chocolate pudding but elevates them through clever layering. This efficient entertaining method—spreading each layer all the way to the edges—ensures every guest gets a perfect ratio of every flavor in their slice.
When we talk about flavor-boosting strategies, the choice of hot fudge over a simple chocolate syrup is paramount. Hot fudge has a higher fat content and a thicker consistency, providing a rich, chewy “truffle” layer in the middle of the dessert. This flavor-layering tip—combined with the use of real heavy cream in the cheesecake layer—ensures a premium mouthfeel that stands out. It turns a standard pudding dessert into a luxury confection that hits every part of the palate, from the salt of the pretzels to the deep cocoa of the fudge.
The assembly process is a lesson in precision and sealing. Making sure the cheesecake layer covers every inch of the crust is the secret to a long-lasting dessert that doesn’t get “mushy” in the fridge. This texture-preservation technique is what allows the dessert to be made a day in advance, making it perfect for low-stress hosting. Even though it involves multiple steps, the logic of the “build” is straightforward, resulting in a professional-grade result that will have guests coming back for seconds (and thirds).
If you are looking to customize your flavor profile, this dessert acts as a wonderful canvas for your favorite toppings. You can add a sprinkle of crushed pretzels on the very top for extra salt, or swap the chocolate pudding for vanilla or butterscotch to create a different flavor theme. This versatile recipe base encourages you to play with textures, perhaps adding chopped peanut butter cups between the layers for an even more decadent experience. It is a perfect example of how classic flavor pairings like chocolate and peanut butter can be reimagined into a modern, celebratory format.
Ultimately, this Chocolate Peanut Butter Layer Dessert is about the joy of a perfectly composed, indulgent treat. It bridges the gap between functional party planning and the luxury of artisanal flavors. Whether you are baking for a large crowd or just treating your family to a special weekend surprise, this recipe delivers on every front. It is a cool, creamy, and salty experience that proves that the best desserts are the ones that offer a little bit of everything in every single bite.
Servings & Time
-
Servings: 12–15 squares
-
Prep Time: 30 minutes
-
Cook Time: 10 minutes (for crust)
-
Total Time: Approx. 40 minutes (plus chilling time)
Ingredients
Pretzel Crust
-
2 1/2 cups Pretzels, crushed
-
1/4 cup Granulated Sugar
-
3/4 cup Butter, melted
Peanut Butter Cheesecake Filling
-
8 oz Cream Cheese, room temperature
-
1 cup Creamy Peanut Butter
-
1 tbsp Butter, room temperature
-
1 cup Granulated Sugar
-
1 tsp Vanilla Extract
-
1 cup Heavy Cream, whipped to stiff peaks
Chocolate & Topping
-
1 box (5.85 oz) Instant Chocolate Pudding (Family Size)
-
2 cups Milk
-
1 jar (11.75 oz) Hot Fudge Topping
-
1 container (8 oz) Whipped Topping, thawed
-
1 1/2 tbsp Creamy Peanut Butter (for drizzle)
Instructions
-
Crust: Preheat oven to 350°F (175°C). In a 9×13 pan, stir together crushed pretzels, sugar, and melted butter. Press firmly into the bottom. Bake for 10 minutes, then remove and let cool completely.
-
Cheesecake Layer: In a bowl, beat cream cheese, 1 cup peanut butter, and 1 tbsp butter until light and fluffy. Add sugar and vanilla; beat until incorporated.
-
Fold: Gently fold in 1/4 of your whipped cream to lighten the mixture, then carefully fold in the rest. Spread evenly over the cooled crust, sealing all the way to the edges.
-
Pudding Layer: Whisk the pudding mix and milk together for 2 minutes. Let it thicken for 5 minutes, then spread over the cheesecake layer.
-
Fudge Drizzle: Microwave the hot fudge for 45 seconds. Transfer to a sandwich bag, snip a corner, and drizzle all over the pudding.
-
Whipped Topping: Spread the thawed whipped topping over the fudge layer, ensuring it reaches the edges of the pan.
-
Final Drizzle: Microwave 1 1/2 tbsp peanut butter for 20 seconds in a sandwich bag. Snip the corner and drizzle in a cross-hatch pattern over the top.
-
Chill: For best results, refrigerate for at least 4 hours (or overnight) to allow the layers to set before slicing.
Tips
-
Crust Compression: Use the bottom of a measuring cup to press the pretzels into the pan—this ensures the crust doesn’t crumble when you slice the dessert.
-
The “Seal” Secret: Be diligent about spreading the cheesecake layer to the very edges of the pan. This prevents the pudding from leaking down and making the pretzels soggy.
-
Fudge Temperature: Ensure the hot fudge is warm enough to drizzle but not so hot that it melts the pudding layer beneath it.
-
Clean Slices: For perfectly clean layers, wipe your knife with a warm, damp cloth between every single cut.
Chocolate Peanut Butter Layer Dessert
Ingredients
Pretzel Crust:
- 2 1/2 cups Pretzels crushed
- 1/4 cup Granulated Sugar
- 3/4 cup Butter melted
Peanut Butter Cheesecake Filling:
- 8 oz Cream Cheese room temperature
- 1 cup Creamy Peanut Butter
- 1 tbsp Butter room temperature
- 1 cup Granulated Sugar
- 1 tsp Vanilla Extract
- 1 cup Heavy Cream whipped to stiff peaks
Chocolate & Topping:
- 1 box 5.85 oz Instant Chocolate Pudding (Family Size)
- 2 cups Milk
- 1 jar 11.75 oz Hot Fudge Topping
- 1 container 8 oz Whipped Topping, thawed
- 1 1/2 tbsp Creamy Peanut Butter for drizzle
Instructions
- Crust: Preheat oven to 350°F (175°C). In a 9x13 pan, stir together crushed pretzels, sugar, and melted butter. Press firmly into the bottom. Bake for 10 minutes, then remove and let cool completely.
- Cheesecake Layer: In a bowl, beat cream cheese, 1 cup peanut butter, and 1 tbsp butter until light and fluffy. Add sugar and vanilla; beat until incorporated.
- Fold: Gently fold in 1/4 of your whipped cream to lighten the mixture, then carefully fold in the rest. Spread evenly over the cooled crust, sealing all the way to the edges.
- Pudding Layer: Whisk the pudding mix and milk together for 2 minutes. Let it thicken for 5 minutes, then spread over the cheesecake layer.
- Fudge Drizzle: Microwave the hot fudge for 45 seconds. Transfer to a sandwich bag, snip a corner, and drizzle all over the pudding.
- Whipped Topping: Spread the thawed whipped topping over the fudge layer, ensuring it reaches the edges of the pan.
- Final Drizzle: Microwave 1 1/2 tbsp peanut butter for 20 seconds in a sandwich bag. Snip the corner and drizzle in a cross-hatch pattern over the top.
- Chill: For best results, refrigerate for at least 4 hours (or overnight) to allow the layers to set before slicing.
Notes
- Crust Compression: Use the bottom of a measuring cup to press the pretzels into the pan—this ensures the crust doesn't crumble when you slice the dessert.
- The "Seal" Secret: Be diligent about spreading the cheesecake layer to the very edges of the pan. This prevents the pudding from leaking down and making the pretzels soggy.
- Fudge Temperature: Ensure the hot fudge is warm enough to drizzle but not so hot that it melts the pudding layer beneath it.
- Clean Slices: For perfectly clean layers, wipe your knife with a warm, damp cloth between every single cut.