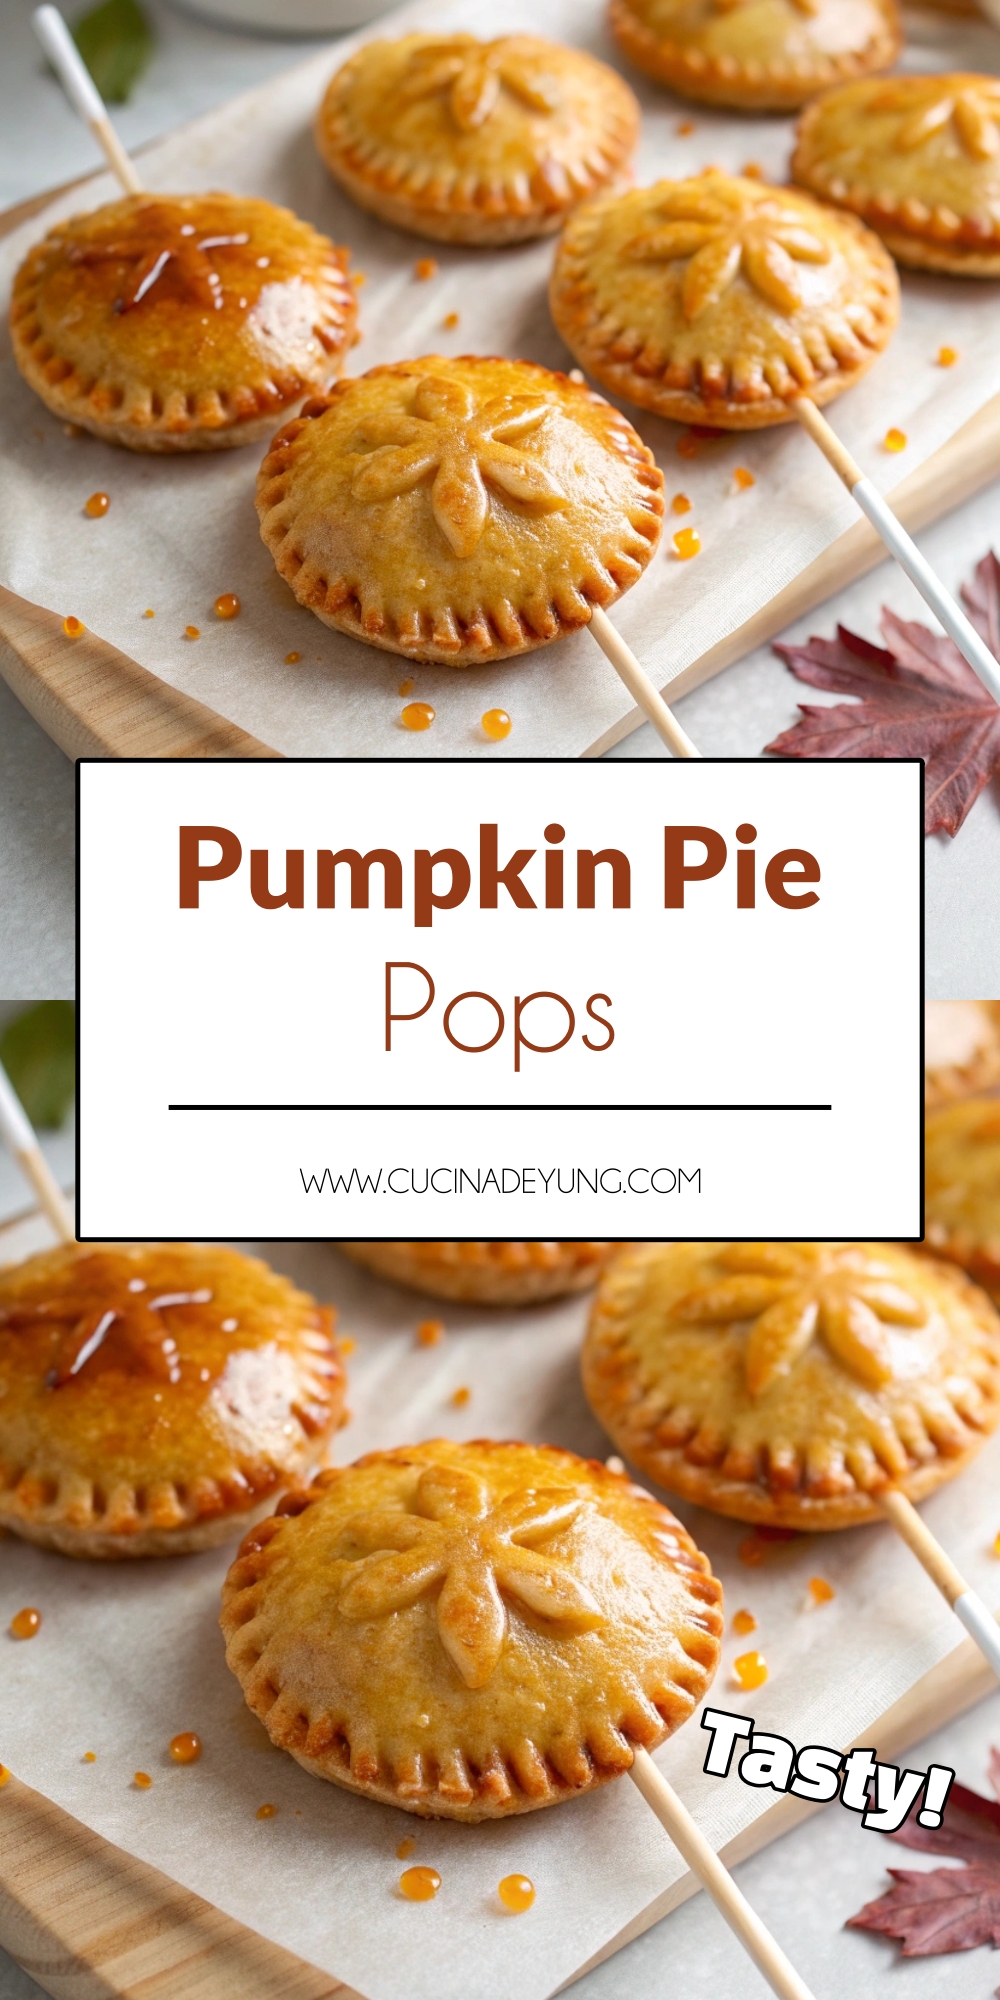
These Pumpkin Pie Pops are a cozy, bite-sized twist on classic pumpkin pie — rich, creamy, and wrapped in flaky pastry on a stick. Perfect for fall gatherings, Thanksgiving dessert tables, or fun baking projects, these mini pumpkin pies are easy to make, adorable to serve, and impossible to resist.
Why You’ll Love This Recipe
You’ll love these Pumpkin Pie Pops because they capture all the warm, nostalgic flavors of pumpkin pie — cinnamon, maple, and buttery crust — but in a cute, portable form. They’re easy to bake, fun to decorate, and make the perfect festive treat for kids, parties, or gifting. Plus, no plates or forks needed — just grab, bite, and enjoy!
Pumpkin Pie Pops
Pumpkin pie is one of those desserts that defines fall — it’s cozy, creamy, and smells like the season itself. But what if you could take that same nostalgic flavor and make it portable? That’s where these Pumpkin Pie Pops come in — a playful twist on the traditional pie that’s every bit as delicious but even more fun to eat.
These mini pie pops are the perfect blend of classic comfort and modern creativity. Imagine a buttery, golden pie crust enveloping a rich, spiced pumpkin filling, finished with a glossy maple glaze. Each bite is a cozy mix of flaky, creamy, and sweet — all served on a stick.
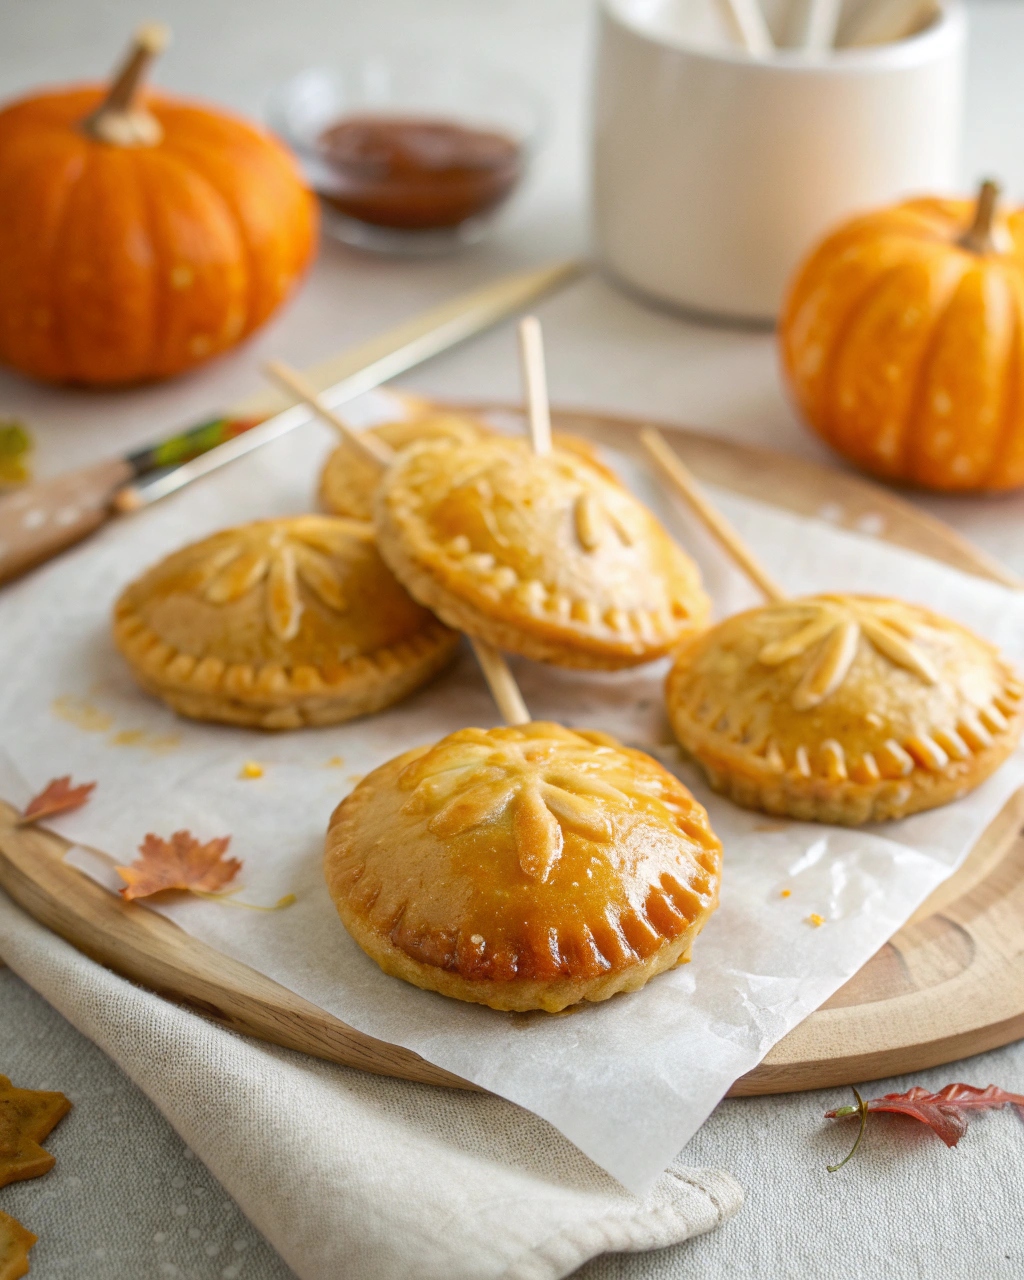
Unlike a full-sized pumpkin pie, which requires slicing, serving plates, and a bit of fuss, these handheld treats are grab-and-go perfection. They’re perfect for holiday dessert buffets, classroom parties, or even Thanksgiving dinner favors. Guests can enjoy them without utensils, and they look absolutely charming lined up on a platter or arranged in a festive jar.
The recipe starts with a simple base — store-bought pie crusts. That means no complicated dough-making, no rolling stress, and no waiting for it to chill. Just thaw, cut, and bake. The filling is made from pumpkin puree, brown sugar, maple syrup, and pumpkin pie spice, creating that iconic autumn flavor that everyone loves.
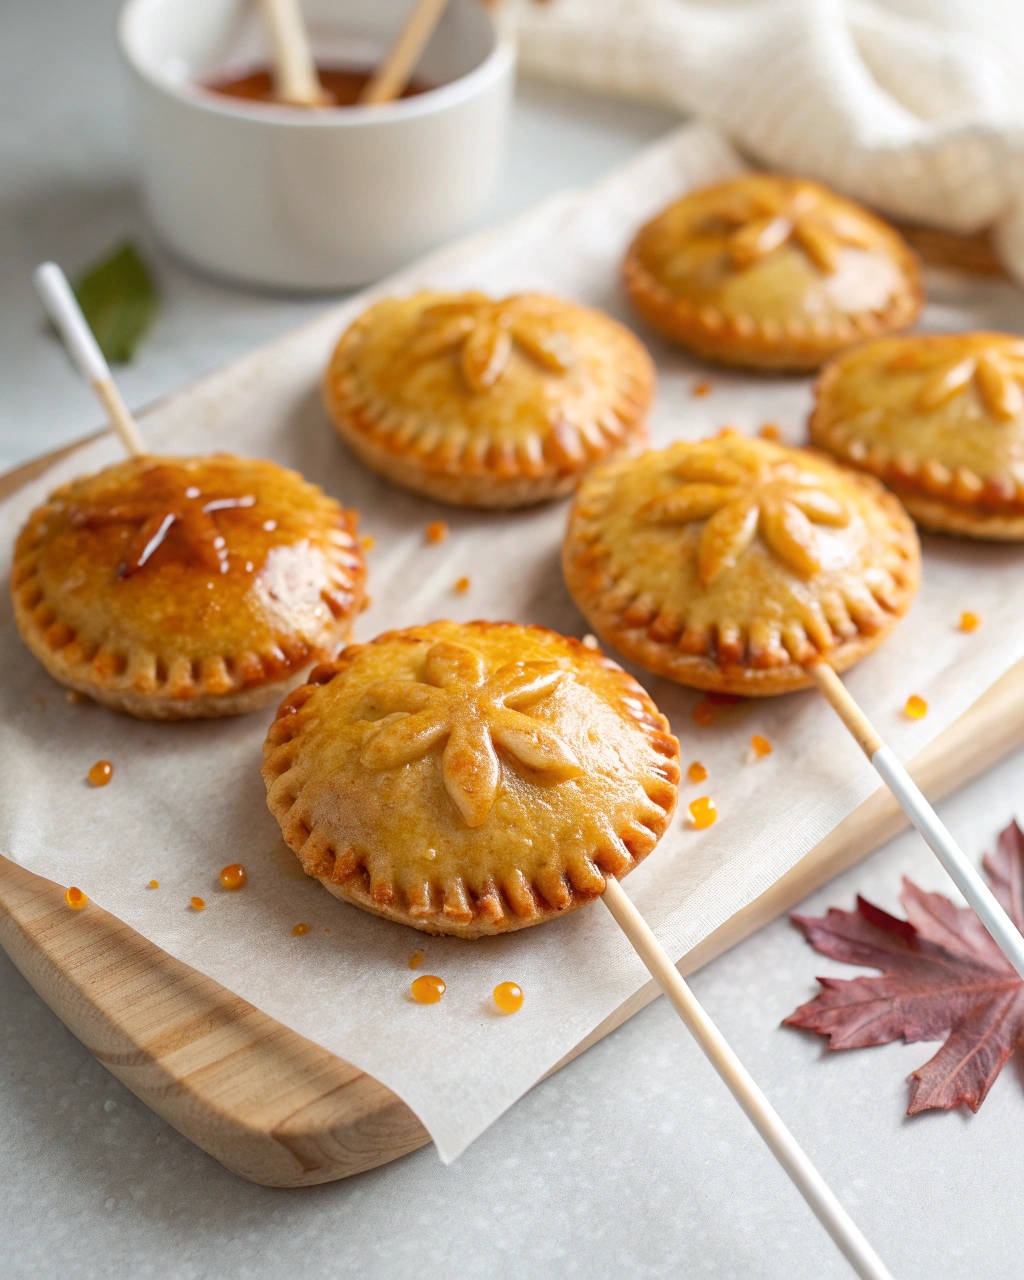
The maple syrup adds a hint of caramel sweetness that balances perfectly with the earthy pumpkin and warming spices. It’s also repeated in the glaze, which gives the finished pops a beautiful sheen and an extra layer of flavor.
And let’s talk about the aroma — as these bake, your kitchen will fill with the scent of pumpkin spice, butter, and maple. It’s the smell of fall gatherings, cozy sweaters, and the kind of dessert that makes everyone linger around the oven waiting for the first batch.
The texture is spot on, too. The crust bakes up flaky and crisp, while the pumpkin filling stays creamy and smooth inside. The glaze adds just a hint of sweetness without overpowering that warm spice balance.
They’re also incredibly customizable. Add a sprinkle of coarse sugar before baking for a sparkly finish, drizzle with white chocolate for a fancy touch, or skip the sticks altogether to make mini pumpkin hand pies. You can even shape the crusts into pumpkins or leaves using cookie cutters for extra fall flair.
These pops are kid-approved and party-perfect. They’re small enough for little hands, but sophisticated enough to impress adult guests. They also travel well, making them a great option for potlucks, bake sales, or Thanksgiving road trips.
And the best part? You can make them ahead of time. The baked pie pops stay fresh for several days, and the dough can be assembled in advance. That makes holiday prep smoother — because who doesn’t want one less thing to stress about before Thanksgiving dinner?
In short, Pumpkin Pie Pops are everything we love about the season — cozy, sweet, and made to share. They’re proof that you don’t need a fork (or even a plate) to enjoy pumpkin pie at its best.
Servings & Time
Servings: 12–16 pie pops
Prep Time: 20 minutes
Cook Time: 20 minutes
Total Time: 40 minutes
Ingredients
For the Mini Pumpkin Pies
-
2 deep dish frozen pie crusts (9-inch each), thawed
-
1/2 cup pumpkin puree
-
1/4 cup brown sugar
-
1 tablespoon maple syrup
-
1/4 teaspoon pumpkin pie spice
-
1 egg, beaten (for brushing and binding)
-
6-inch lollipop sticks (optional)
For the Glaze
-
1/2 cup powdered sugar
-
1/2 teaspoon vanilla extract
-
2–4 tablespoons maple syrup (adjust for desired consistency)
Instructions
-
Prepare the crusts:
-
Preheat oven to 375°F (190°C).
-
Unroll the thawed pie crusts on a lightly floured surface. Using a round or seasonal cookie cutter, cut out circles (about 3 inches in diameter).
-
-
Make the filling:
-
In a small bowl, mix together pumpkin puree, brown sugar, maple syrup, and pumpkin pie spice until smooth.
-
-
Assemble the pops:
-
Place half of the crust circles on a parchment-lined baking sheet.
-
Spoon about 1 teaspoon of pumpkin filling into the center of each.
-
If using, gently insert a lollipop stick into the filling so it reaches halfway through the circle.
-
Brush the edges with beaten egg.
-
Top with the remaining crust circles and press edges firmly with a fork to seal.
-
-
Brush and bake:
-
Lightly brush the tops with beaten egg for a golden finish.
-
Bake for 18–22 minutes, or until golden brown and crisp.
-
-
Cool and glaze:
-
Let the pie pops cool slightly on a wire rack.
-
Whisk together powdered sugar, vanilla, and maple syrup until smooth, then drizzle or brush over the pops.
-
-
Serve and enjoy:
-
Serve warm or at room temperature — they’re delicious both ways!
-
Tips
-
Crust options: You can also use homemade pie crust or puff pastry for a flakier finish.
-
Make ahead: Assemble the pops and refrigerate them for up to 24 hours before baking.
-
Storage: Store baked pie pops in an airtight container for up to 3 days. Warm them slightly before serving for the best texture.
-
Decoration: Add a sprinkle of cinnamon sugar before baking for extra flavor.
-
Shape ideas: Try pumpkin, leaf, or heart-shaped cutters to match the season or occasion.
Pumpkin Pie Pops
Ingredients
For the Mini Pumpkin Pies
- 2 deep dish frozen pie crusts 9-inch each, thawed
- 1/2 cup pumpkin puree
- 1/4 cup brown sugar
- 1 tablespoon maple syrup
- 1/4 teaspoon pumpkin pie spice
- 1 egg beaten (for brushing and binding)
- 6- inch lollipop sticks optional
For the Glaze
- 1/2 cup powdered sugar
- 1/2 teaspoon vanilla extract
- 2 –4 tablespoons maple syrup adjust for desired consistency
Instructions
Prepare the crusts:
- Preheat oven to 375°F (190°C).
- Unroll the thawed pie crusts on a lightly floured surface. Using a round or seasonal cookie cutter, cut out circles (about 3 inches in diameter).
Make the filling:
- In a small bowl, mix together pumpkin puree, brown sugar, maple syrup, and pumpkin pie spice until smooth.
Assemble the pops:
- Place half of the crust circles on a parchment-lined baking sheet.
- Spoon about 1 teaspoon of pumpkin filling into the center of each.
- If using, gently insert a lollipop stick into the filling so it reaches halfway through the circle.
- Brush the edges with beaten egg.
- Top with the remaining crust circles and press edges firmly with a fork to seal.
Brush and bake:
- Lightly brush the tops with beaten egg for a golden finish.
- Bake for 18–22 minutes, or until golden brown and crisp.
Cool and glaze:
- Let the pie pops cool slightly on a wire rack.
- Whisk together powdered sugar, vanilla, and maple syrup until smooth, then drizzle or brush over the pops.
Serve and enjoy:
- Serve warm or at room temperature — they’re delicious both ways!
Notes
- Crust options: You can also use homemade pie crust or puff pastry for a flakier finish.
- Make ahead: Assemble the pops and refrigerate them for up to 24 hours before baking.
- Storage: Store baked pie pops in an airtight container for up to 3 days. Warm them slightly before serving for the best texture.
- Decoration: Add a sprinkle of cinnamon sugar before baking for extra flavor.
- Shape ideas: Try pumpkin, leaf, or heart-shaped cutters to match the season or occasion.