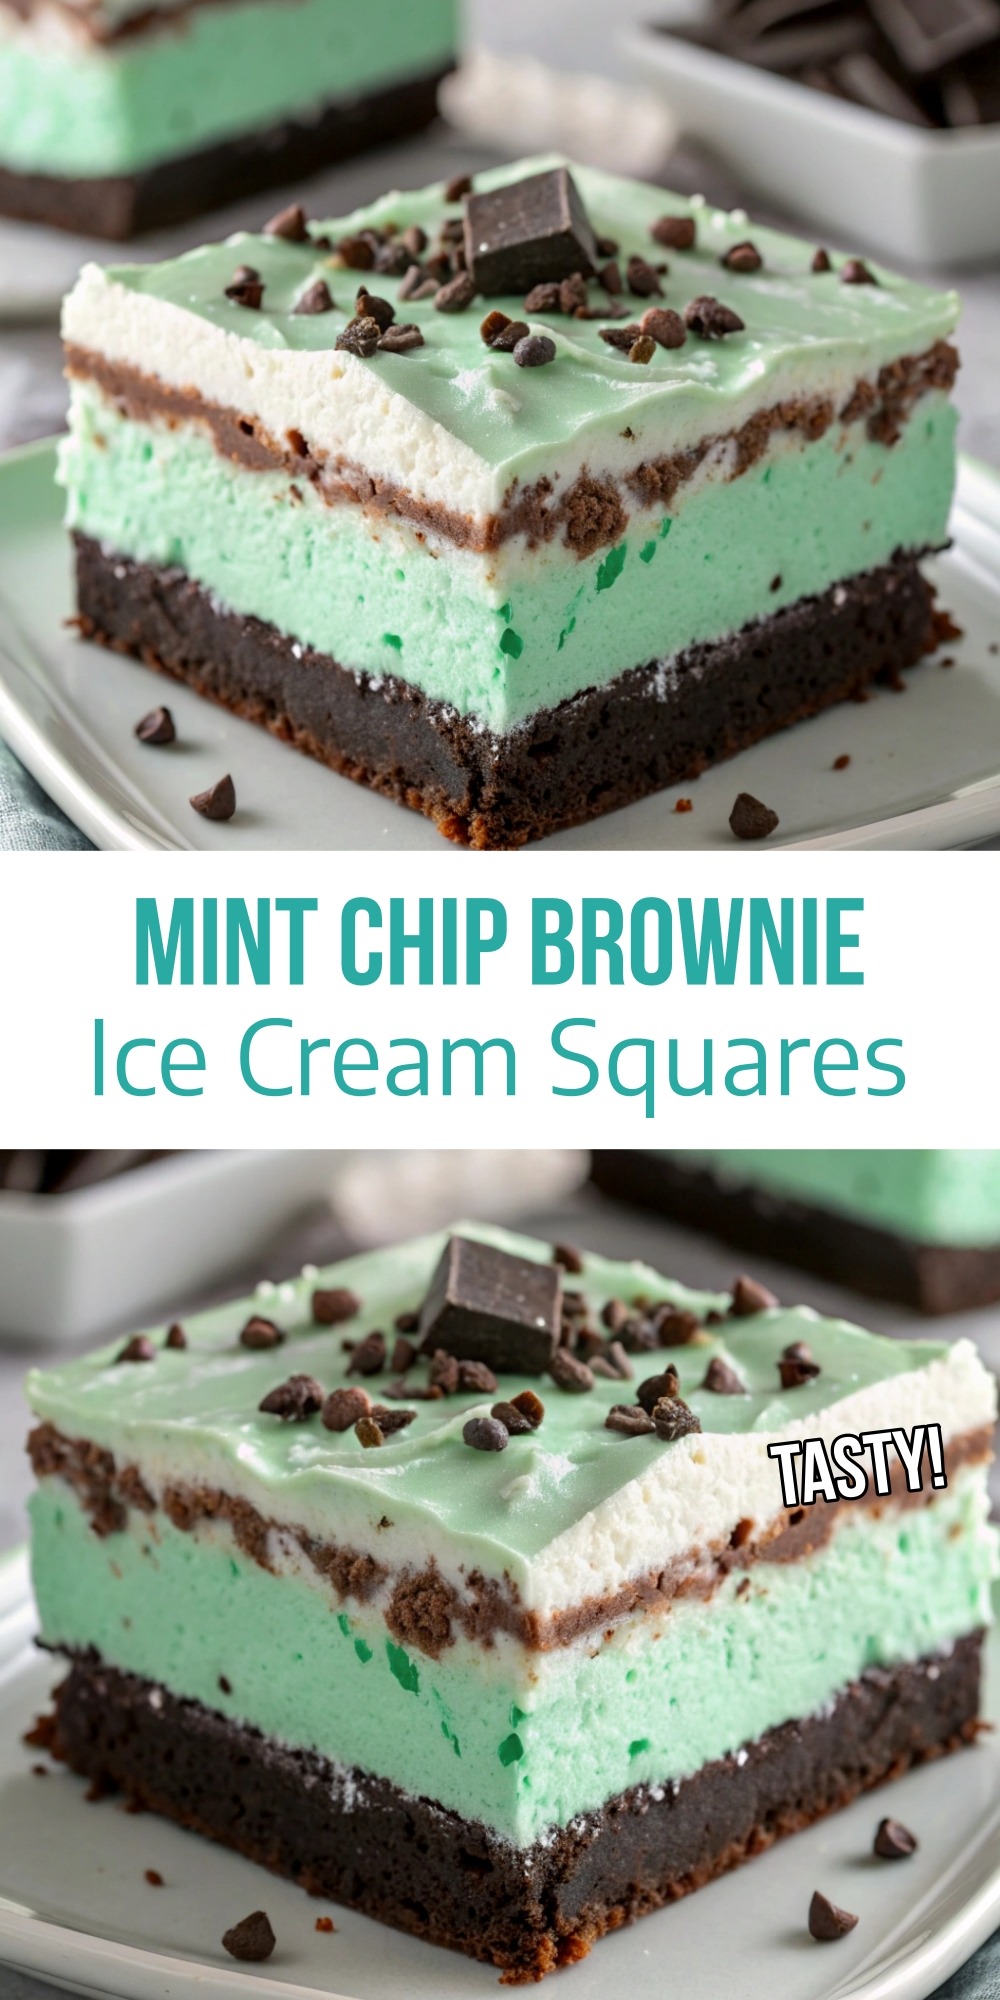
Decadent dessert combining fudgy brownie base, mint chip ice cream, chocolate ganache layer, and whipped topping—served frozen in bar form.
Why You Will Love This Recipe
-
The contrast of warm brownie and cold mint ice cream layers is irresistible.
-
No need for ice cream machines—just assembly and freeze.
-
Layers of texture: chewy brownie, creamy ice cream, smooth chocolate ganache, fluffy whipped cream.
-
Customizable toppings and garnish make each slice unique.
-
Ideal for celebrations, potlucks, or anytime dessert that feels indulgent.
Mint Chip Brownie Ice Cream Squares
Mint Chip Brownie Ice Cream Squares are the kind of dessert that hits every high note: chocolate, mint, creaminess, and layers upon layers of texture. You begin with a fudgy brownie layer—using a boxed mix or from scratch—baked into a 9×13 pan. While that bakes and starts to cool, you prepare your mint chip ice cream: let it soften so it can be spread over the cooled brownie base. The moment the ice cream layer settles, the magic truly begins.
Next comes a rich chocolate ganache or sauce: heavy cream heated and poured over semi‑sweet chocolate, melted into a glossy molten layer. Let it cool slightly so it’s pourable but not too hot to melt the ice cream. That chocolate layer bridges the mint and brownie—melding the dessert into one cohesion.
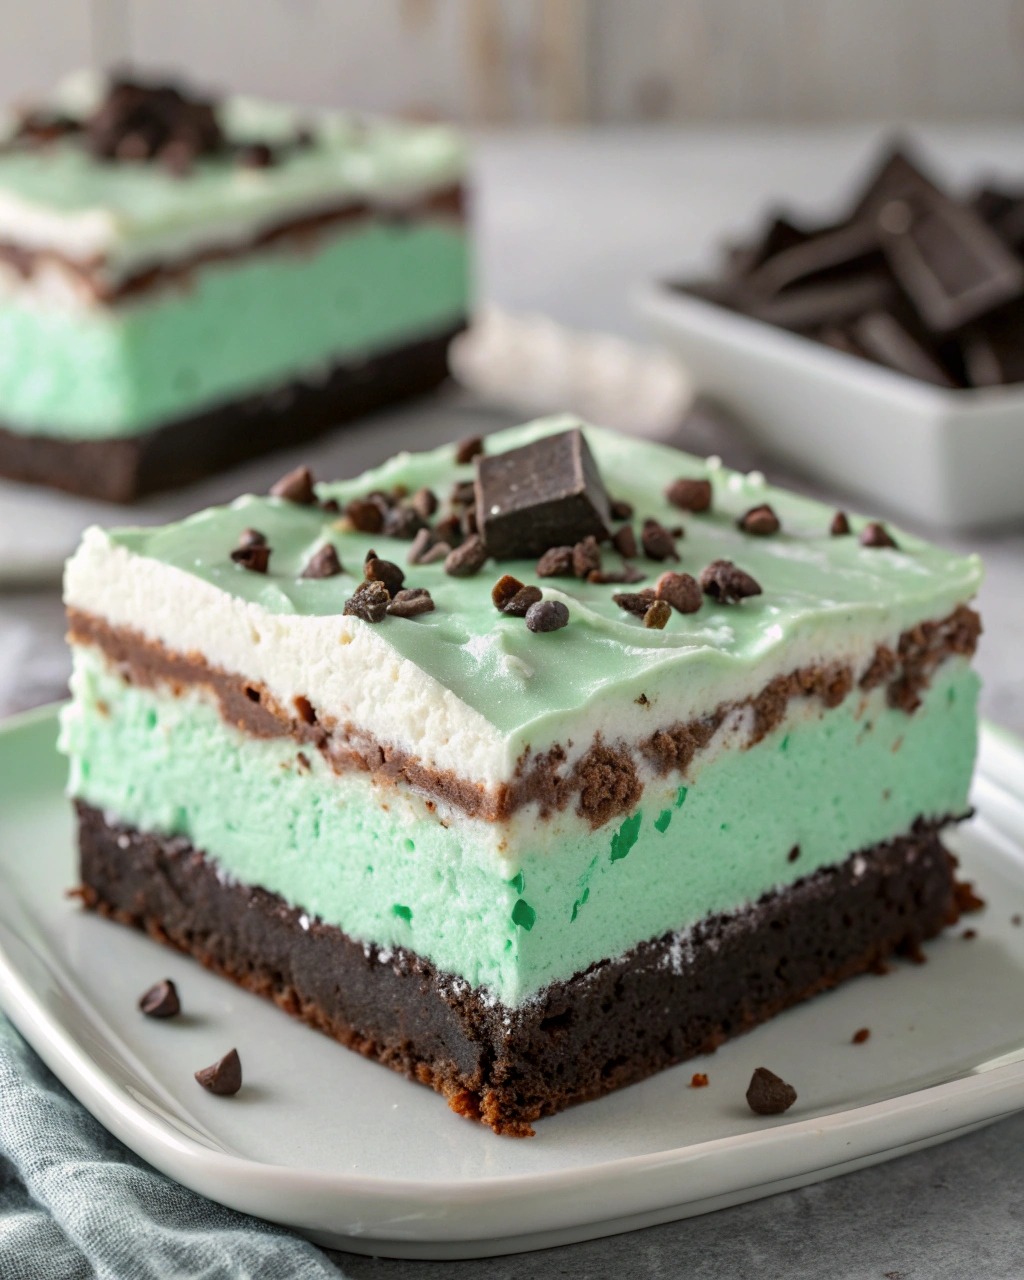
After the ganache hardens somewhat in the freezer, you spread a whipped topping layer—either from whipped cream or whipped topping—so the top becomes light, airy, and provides contrast to the denser layers below. Then you garnish: chopped Andes mints, mini chocolate chips, pearls, or mint leaves—whatever visual and textural finishes you prefer.
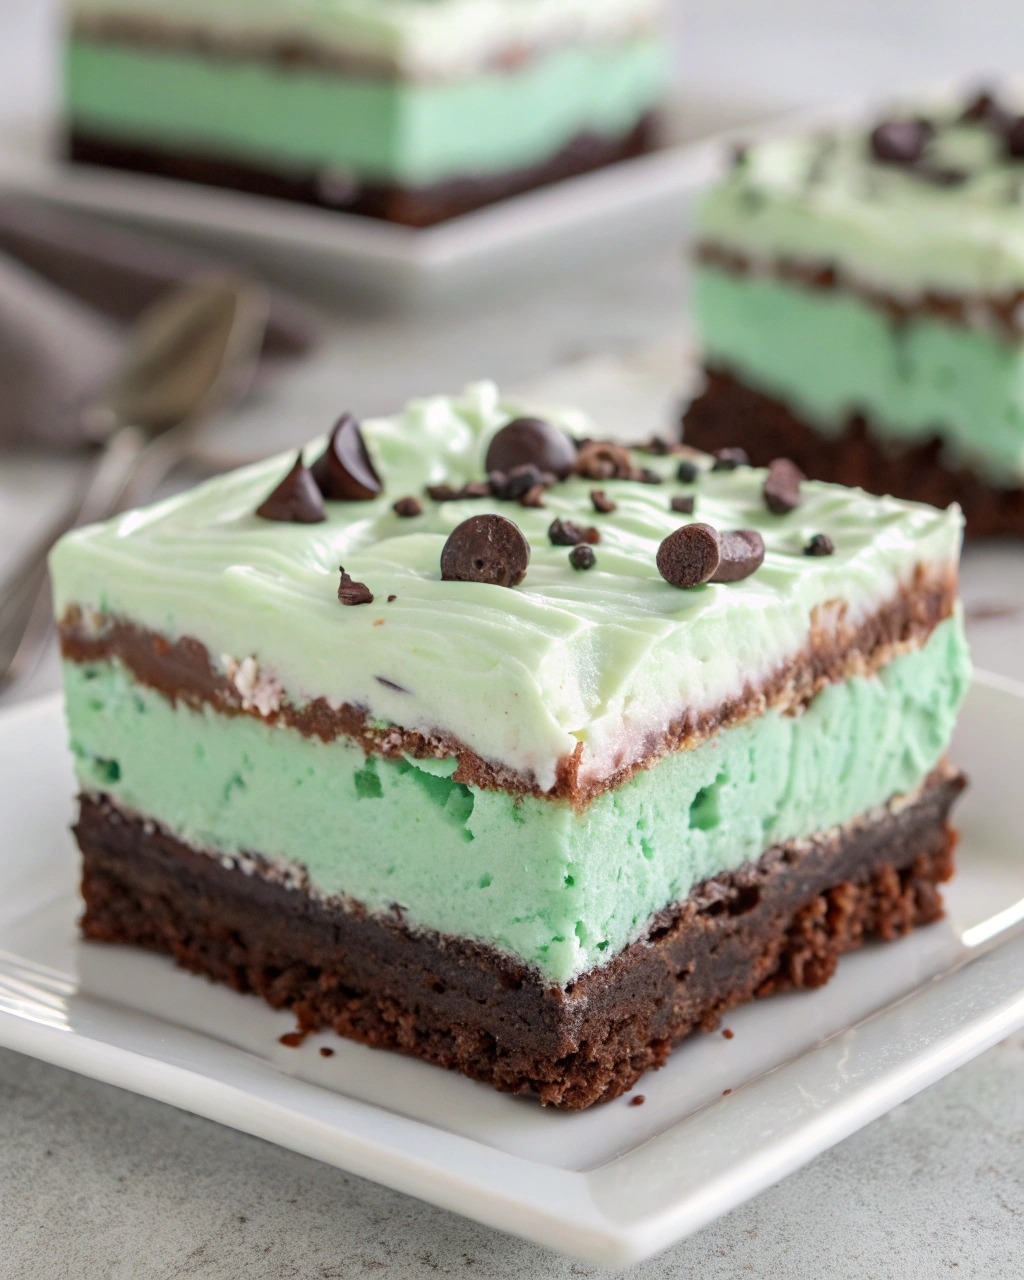
As you slice, the edges reveal distinct layers—brownie, mint ice cream, chocolate, whipped topping. When you lift a square, sometimes the chocolate layer cracks, revealing soft mint beneath. Biting into it, you experience chewy brownie, creamy mint, bittersweet chocolate, and light whip cream in one bite.
Because it’s made ahead and stored in the freezer, it’s perfect for entertaining. You can assemble and freeze, then slice just before serving. The beauty lies in how the layers hold, the flavors combine, and the textures complement without overpowering.
Servings
Approximately 12–15 squares (depending on cut size)
Time
| Task | Duration |
|---|---|
| Bake brownie layer | ~20–25 minutes |
| Cool brownie & assemble ice cream layer | ~10 minutes |
| Prepare ganache & pour | ~5 minutes |
| Chill to set | ~30–60 minutes |
| Spread whipped topping & garnish | ~5 minutes |
| Final freeze/set | ~3 hours (or overnight) |
| Total time | ≈ 4 hours, including chilling |
Ingredients
Brownie Layer:
-
Boxed fudge brownie mix (or homemade equivalent)
-
Parchment lined 9×13 pan
Ice Cream Layer:
-
1 carton (1.5 quarts) mint chip ice cream
Chocolate / Ganache Layer:
-
¾ cup heavy whipping cream
-
1 cup semi‑sweet chocolate chips
-
Or substitute 1 to 1½ cups quality hot fudge sauce
Whipped Topping Layer:
-
1 tub (8 oz) of whipped topping (Cool Whip)
-
Or 1 cup heavy cream + ¼ cup powdered sugar + 1 tsp vanilla
Garnish / Toppings:
-
Chopped Andes mints
-
Mini chocolate chips
-
Chocolate pearls or any extra chocolate bits
Instructions
-
Preheat oven and line a 9×13 baking pan with parchment. Prepare brownie batter according to instructions and spread evenly.
-
Bake 20–25 minutes until a toothpick inserted comes out with moist crumbs. Let cool completely.
-
Soften mint chip ice cream at room temp (~20 minutes) then spread evenly over cooled brownie base. Freeze until firm.
-
Prepare ganache: heat cream, pour over chocolate chips, let sit, then stir until smooth. Cool slightly.
-
Pour ganache over ice cream layer; return to freezer.
-
Thaw whipped topping slightly, spread over chocolate layer.
-
Garnish with chopped mints, mini chips, pearls.
-
Freeze at least 3 hours before slicing into squares.
Tips
-
Let brownie cool well before pouring ice cream to avoid melting.
-
Chill ganache so it’s pourable but won’t seep through layers.
-
Use parchment so you can lift entire slab for easier slicing.
-
Slice cold but let sit 1–2 minutes for easier cutting.
-
Store covered to prevent ice crystallization.
Mint Chip Brownie Ice Cream Squares
Ingredients
Brownie Layer:
- Boxed fudge brownie mix or homemade equivalent
- Parchment lined 9×13 pan
Ice Cream Layer:
- 1 carton 1.5 quarts mint chip ice cream
Chocolate / Ganache Layer:
- ¾ cup heavy whipping cream
- 1 cup semi‑sweet chocolate chips
- Or substitute 1 to 1½ cups quality hot fudge sauce
Whipped Topping Layer:
- 1 tub 8 oz of whipped topping (Cool Whip)
- Or 1 cup heavy cream + ¼ cup powdered sugar + 1 tsp vanilla
Garnish / Toppings:
- Chopped Andes mints
- Mini chocolate chips
- Chocolate pearls or any extra chocolate bits
Instructions
- Preheat oven and line a 9×13 baking pan with parchment. Prepare brownie batter according to instructions and spread evenly.
- Bake 20–25 minutes until a toothpick inserted comes out with moist crumbs. Let cool completely.
- Soften mint chip ice cream at room temp (~20 minutes) then spread evenly over cooled brownie base. Freeze until firm.
- Prepare ganache: heat cream, pour over chocolate chips, let sit, then stir until smooth. Cool slightly.
- Pour ganache over ice cream layer; return to freezer.
- Thaw whipped topping slightly, spread over chocolate layer.
- Garnish with chopped mints, mini chips, pearls.
- Freeze at least 3 hours before slicing into squares.
Notes
- Let brownie cool well before pouring ice cream to avoid melting.
- Chill ganache so it’s pourable but won’t seep through layers.
- Use parchment so you can lift entire slab for easier slicing.
- Slice cold but let sit 1–2 minutes for easier cutting.
- Store covered to prevent ice crystallization.