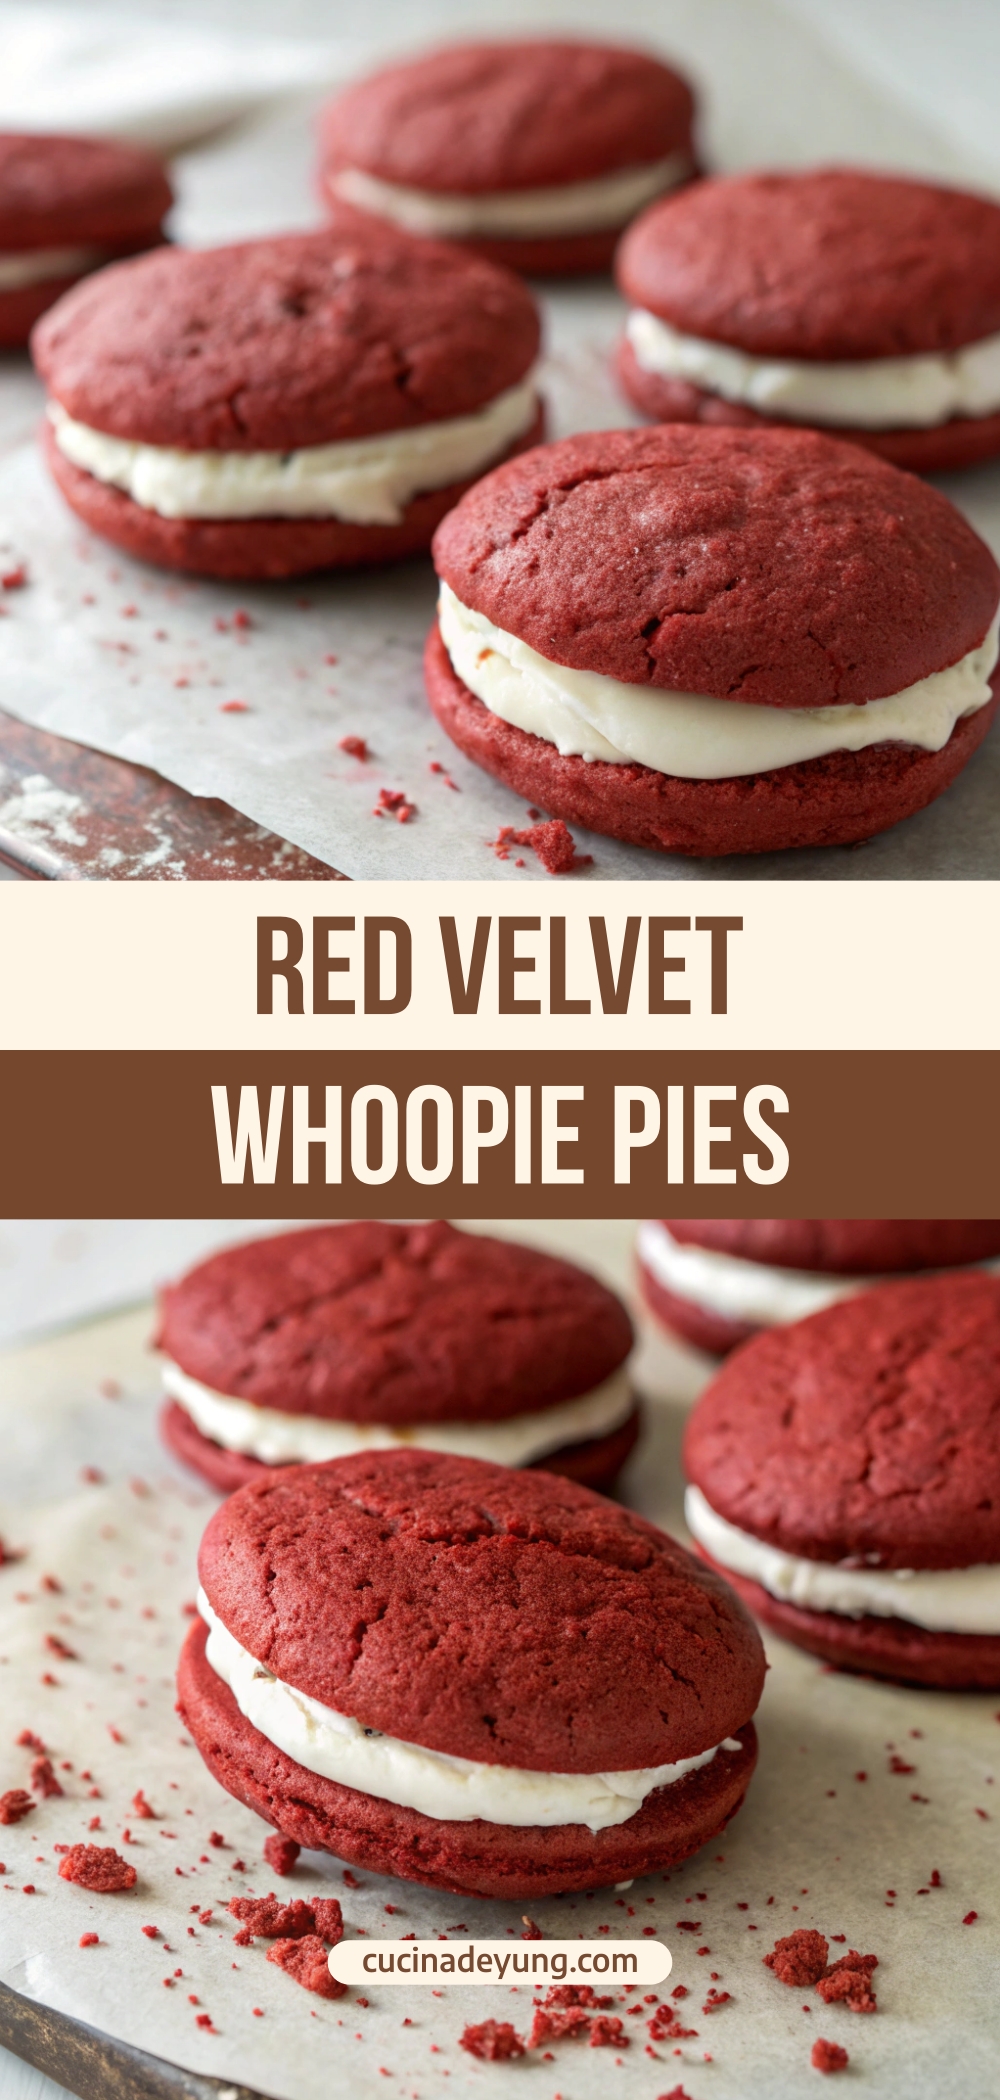
This dreamy dessert takes the charm of a cupcake and the fun of a cookie, then smooshes them together in red velvet whoopie pie bliss. A soft, cake-like red velvet cookie is filled with a rich, fluffy cream cheese frosting that melts in your mouth. A dessert so cute, so indulgent, and so irresistible—it’ll vanish in minutes.
Why You Will Love This Recipe:
- Irresistibly soft and cakey texture
- Classic red velvet flavor with a rich cocoa undertone
- Decadent cream cheese frosting that feels like a cheesecake cloud
- Fun to bake, serve, and devour!
- Make-ahead friendly and great for gifting or special events
Red Velvet Whoopie Pies with Luscious Cream Cheese Frosting
Picture this: the cozy cocoa aroma of red velvet drifting through your kitchen, the joy of dolloping cream cheese frosting between cookies so soft they bounce a little when you touch them. That’s what awaits you with these Red Velvet Whoopie Pies. A nostalgic treat with a modern twist, they’re perfect for those who love a bit of flair with their dessert.
Whoopie pies are like handheld cakes with a bit of whimsy. Originally born in the Amish country of Pennsylvania, they’ve now taken a delicious turn with this ruby-hued variation. And let’s talk texture—these aren’t just cookies pretending to be cake. They ARE cake, just portable, sandwich-style, and dressed up for a party.
Red velvet is a flavor that somehow feels both festive and luxurious. It’s not just about the color—though that deep crimson hue makes these little pies truly pop—it’s the soft tang from buttermilk, the slight bitterness of cocoa, and the balance of sweet and creamy from the filling. It’s a complete sensory experience.
This recipe tweaks the classic with a few enhancements to take the flavor and texture up a notch. We’ve adjusted the flour-cocoa ratio, added a touch of cornstarch for extra softness, and made the frosting silkier with a bit more butter for that ultimate creaminess.
Whether it’s Valentine’s Day, a birthday, a bake sale, or just your average Tuesday that needs some sweetening, these whoopie pies bring the party. And the best part? They’re shockingly easy to pull off.
No need to be a pastry pro. If you can use a hand mixer and spoon cookie dough onto a sheet, you’re more than equipped. And with a few insider tips, your whoopie pies will look like they came from a boutique bakery.
Kids adore them. Adults secretly love them more. And you? You’ll be fielding recipe requests by the dozen.
Servings: 10-12 whoopie pies
Time:
- Prep Time: 20 minutes
- Cook Time: 11 minutes
- Cooling Time: 30 minutes
- Assembly Time: 10 minutes
- Total Time: ~1 hour 15 minutes
Ingredients:
For the Red Velvet Cookies:
- 1 3/4 cups (220g) all-purpose flour
- 1/4 cup (20g) unsweetened natural cocoa powder
- 1 tablespoon cornstarch
- 1 teaspoon baking soda
- 1/2 teaspoon salt
- 1/2 cup (115g) unsalted butter, softened
- 1 cup (200g) packed light brown sugar
- 1 large egg, room temperature
- 2 teaspoons vanilla extract
- 2/3 cup (160ml) buttermilk, room temperature
- 1 teaspoon red gel food coloring
For the Cream Cheese Filling:
- 6 oz (170g) cream cheese, softened
- 1/3 cup (75g) unsalted butter, softened
- 1 1/2 cups (180g) powdered sugar, sifted
- 1/2 teaspoon vanilla extract
Instructions:
- Preheat oven to 350°F (177°C). Line two baking sheets with parchment paper.
- In a bowl, whisk together flour, cocoa powder, cornstarch, baking soda, and salt.
- In a large bowl, beat softened butter and brown sugar with a mixer on medium speed until light and fluffy.
- Add the egg and mix until well combined. Mix in vanilla and buttermilk. Don’t worry if it looks a bit curdled.
- Reduce mixer to low and slowly add the dry ingredients. Mix until fully combined. Add gel food coloring until the batter is a deep red.
- Drop heaping tablespoons (about 1.5 tbsp each) of batter onto the prepared baking sheets, spacing 3 inches apart.
- Bake for 10-12 minutes until centers are set. Let cool completely on a wire rack.
- For the filling: Beat cream cheese and butter together until creamy. Add powdered sugar and vanilla; beat until smooth.
- Once cookies are cooled, match them in pairs by size. Spread frosting on the flat side of one cookie and sandwich with the other.
- Optional: Light dusting of powdered sugar on top.
Tips:
- Use gel food coloring for vibrant red without adding too much liquid.
- Chill the frosting slightly before spreading for cleaner sandwiches.
- Store in the fridge for longer freshness, but serve at room temp for best texture.
- Swap the cream cheese frosting with marshmallow fluff for a twist.
- These freeze beautifully—wrap individually and freeze up to 2 months.
Red Velvet Whoopie Pies
Ingredients
For the Red Velvet Cookies:
- 1 3/4 cups 220g all-purpose flour
- 1/4 cup 20g unsweetened natural cocoa powder
- 1 tablespoon cornstarch
- 1 teaspoon baking soda
- 1/2 teaspoon salt
- 1/2 cup 115g unsalted butter, softened
- 1 cup 200g packed light brown sugar
- 1 large egg room temperature
- 2 teaspoons vanilla extract
- 2/3 cup 160ml buttermilk, room temperature
- 1 teaspoon red gel food coloring
For the Cream Cheese Filling:
- 6 oz 170g cream cheese, softened
- 1/3 cup 75g unsalted butter, softened
- 1 1/2 cups 180g powdered sugar, sifted
- 1/2 teaspoon vanilla extract
Instructions
- Preheat oven to 350°F (177°C). Line two baking sheets with parchment paper.
- In a bowl, whisk together flour, cocoa powder, cornstarch, baking soda, and salt.
- In a large bowl, beat softened butter and brown sugar with a mixer on medium speed until light and fluffy.
- Add the egg and mix until well combined. Mix in vanilla and buttermilk. Don’t worry if it looks a bit curdled.
- Reduce mixer to low and slowly add the dry ingredients. Mix until fully combined. Add gel food coloring until the batter is a deep red.
- Drop heaping tablespoons (about 1.5 tbsp each) of batter onto the prepared baking sheets, spacing 3 inches apart.
- Bake for 10-12 minutes until centers are set. Let cool completely on a wire rack.
- For the filling: Beat cream cheese and butter together until creamy. Add powdered sugar and vanilla; beat until smooth.
- Once cookies are cooled, match them in pairs by size. Spread frosting on the flat side of one cookie and sandwich with the other.
- Optional: Light dusting of powdered sugar on top.
Notes
- Use gel food coloring for vibrant red without adding too much liquid.
- Chill the frosting slightly before spreading for cleaner sandwiches.
- Store in the fridge for longer freshness, but serve at room temp for best texture.
- Swap the cream cheese frosting with marshmallow fluff for a twist.
- These freeze beautifully—wrap individually and freeze up to 2 months.