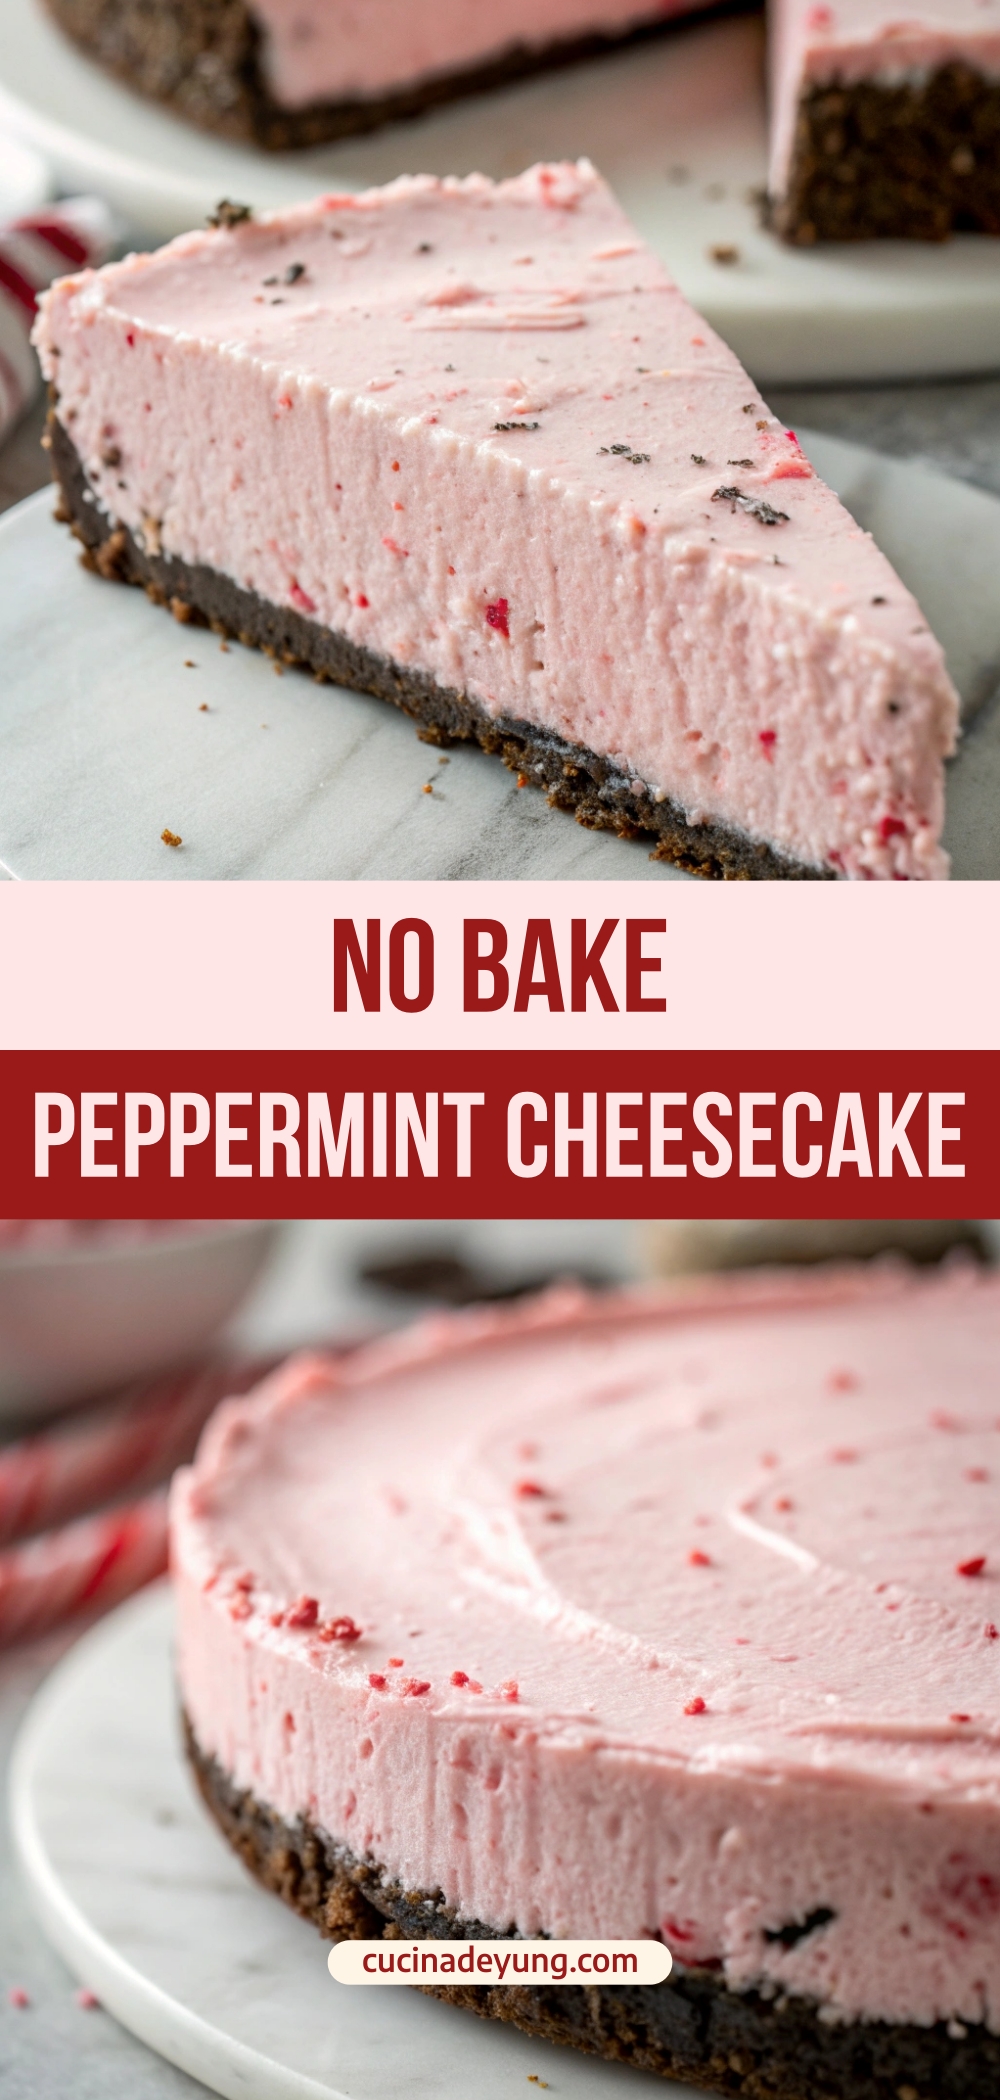
This No Bake Peppermint Cheesecake delivers a creamy, peppermint-kissed filling on a chocolatey Oreo crust. It’s festive, light, and irresistibly smooth — the perfect holiday dessert that requires zero baking.
Why You Will Love This Recipe
You’ll love this cheesecake for its silky texture, refreshing peppermint flavor, and unbelievably easy prep. No oven, no water bath — just mix, chill, and enjoy. It’s a perfect crowd-pleaser for winter holidays, potlucks, and anyone who wants a dessert that feels fun, elegant, and effortless.
No Bake Peppermint Cheesecake
There’s something magical about peppermint desserts during the holiday season. The cool mint notes, the soft pastel pink color, and the rich cream cheese filling all blend together to create a dessert that feels merry, bright, and undeniably festive. This No Bake Peppermint Cheesecake captures that spirit in every bite while giving home bakers a break — no oven, no complicated steps, and no stress.
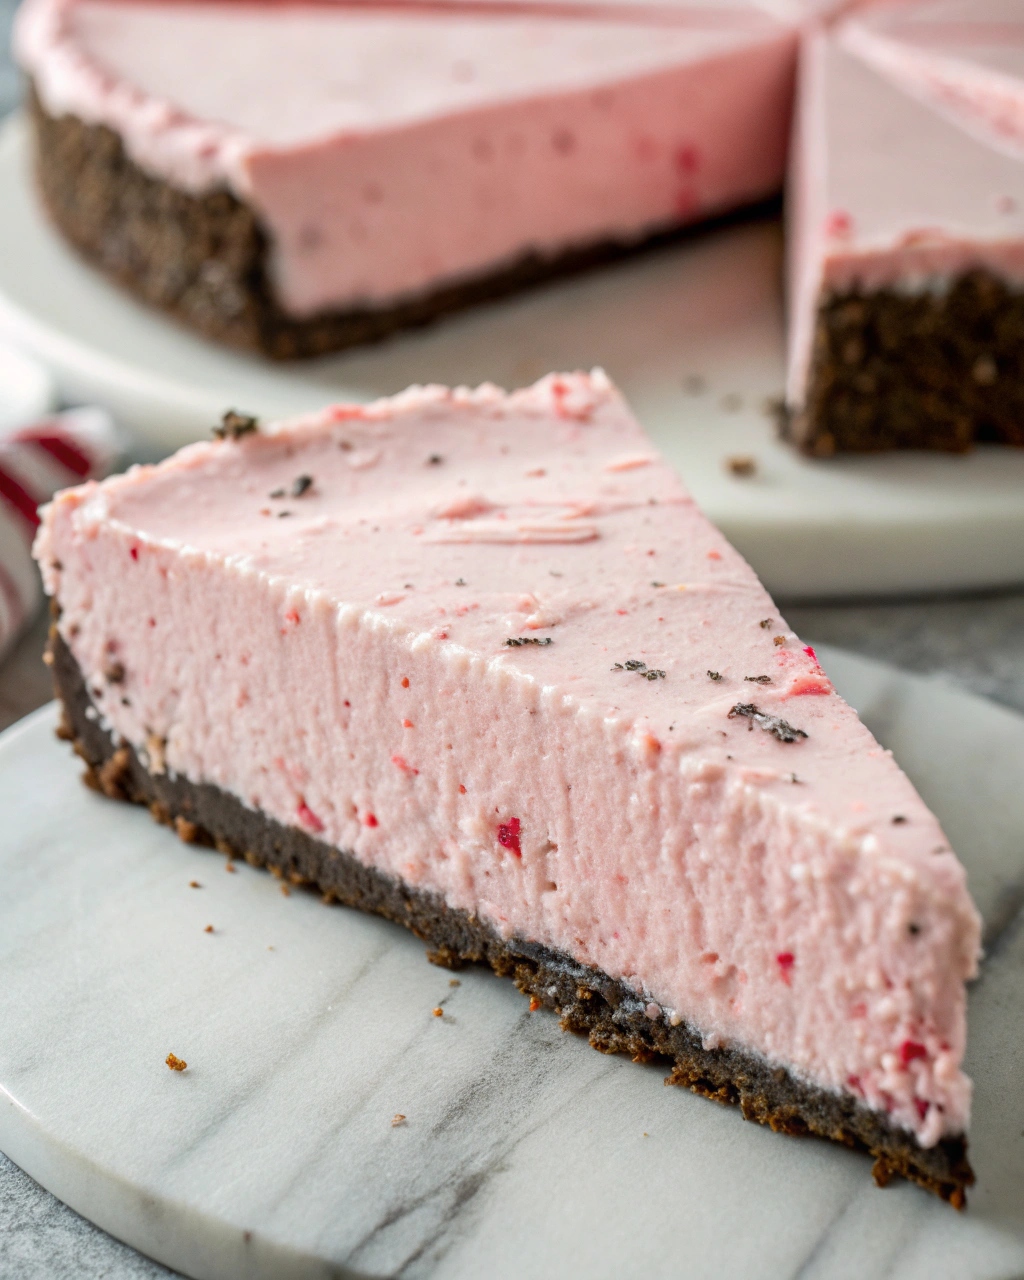
No-bake cheesecakes are beloved for their simplicity and creamy texture, and this peppermint version is no exception. The filling is thick, smooth, and luxurious thanks to a blend of softened cream cheese, heavy cream, and sugar. The mixture whips up light and airy but still holds its shape beautifully after chilling. It’s the kind of dessert that melts on your tongue while still feeling rich and satisfying.
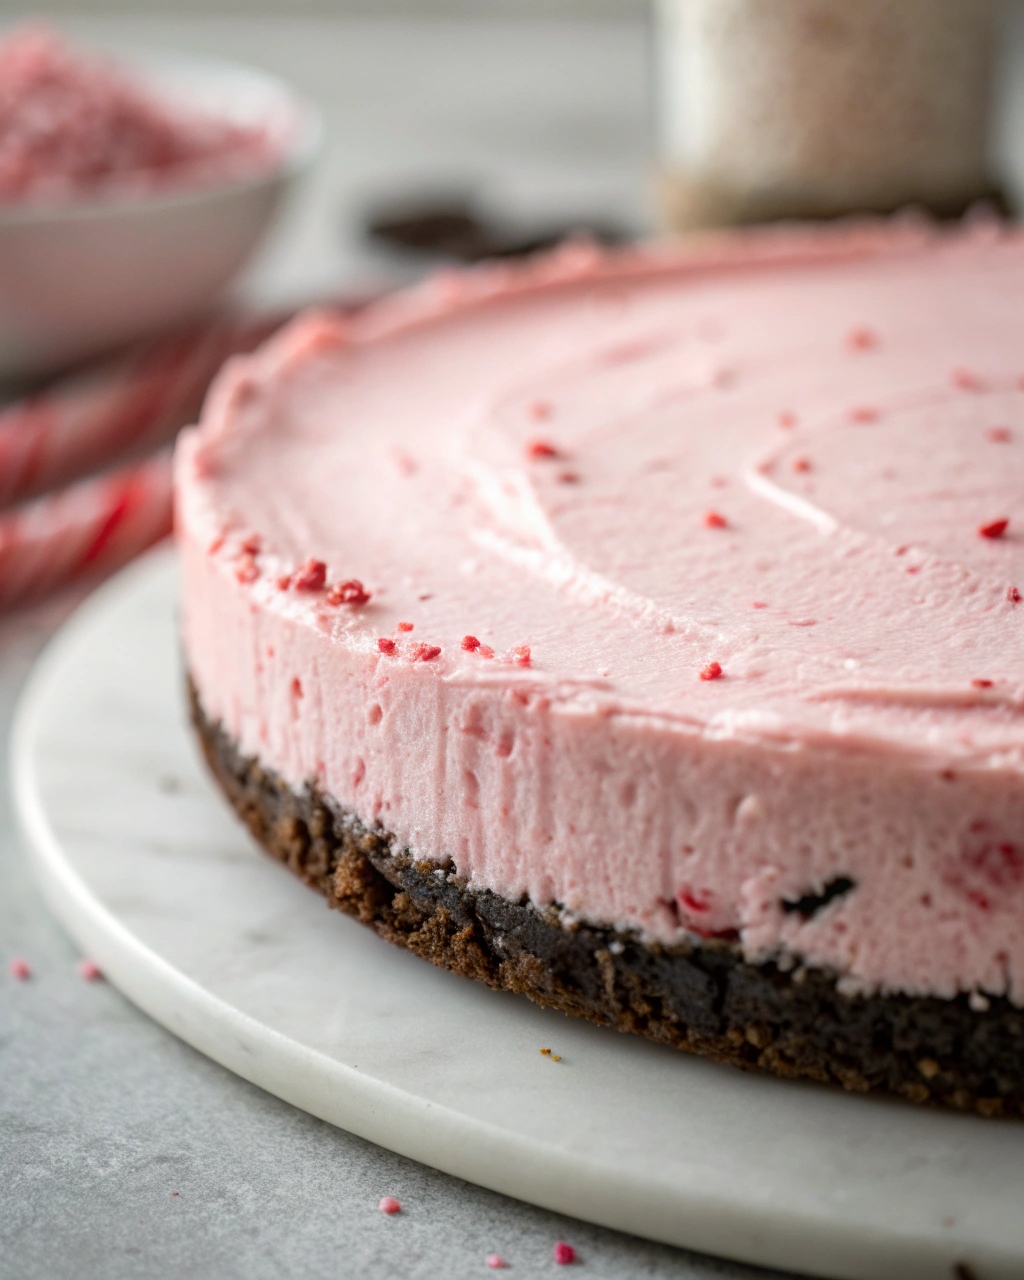
Peppermint extract brings a refreshing, cool flavor that pairs perfectly with the richness of the cream cheese. It’s strong, so a little goes a long way, giving the cheesecake a clean, crisp brightness without feeling overpowering. The pink food coloring adds that classic peppermint dessert hue — soft, festive, and charming on any holiday table.
The crust, made from crushed Oreo cookies, adds a deep chocolate base that contrasts beautifully with the creamy peppermint filling. The chocolate-mint combination is timeless, reminiscent of peppermint bark and holiday treats that everyone loves. The crust comes together quickly and sets firmly once chilled, creating the perfect foundation for the airy filling.
One of the best parts of this recipe is its simplicity. With only a handful of ingredients and a few mixing steps, this cheesecake feels effortless — the perfect dessert to prepare during busy holiday weeks. You can make it ahead of time, store it in the fridge, and serve it when guests arrive looking like you spent hours in the kitchen.
The texture is another highlight. Because this cheesecake sets in the fridge instead of being baked, the filling stays incredibly smooth and velvety. It has a lightness that keeps every bite refreshing, especially next to heavier holiday dishes. Even people who don’t usually enjoy traditional baked cheesecake often fall in love with the no-bake version.
This cheesecake also offers plenty of room for creativity. You can garnish it with crushed candy canes, whipped cream swirls, shaved chocolate, or festive sprinkles. You can serve it in slices, in mini jars, or even as individual cheesecakes for parties. It’s adaptable, beautiful, and reliable.
Peppermint desserts often spark emotions tied to winter traditions, cozy gatherings, and holiday nostalgia. This cheesecake taps into that warmth while still feeling modern and fresh. It’s the kind of dessert that both kids and adults get excited about — a treat that looks stunning on the table without feeling fussy.
Even if you’re new to no-bake recipes, this one is forgiving and beginner-friendly. The filling comes together quickly, the crust is nearly foolproof, and the hardest step is simply waiting for it to chill. By the time it’s set, you’ll have a picture-perfect dessert that feels like something from a bakery display.
Whether you’re preparing for Christmas dinner, hosting a holiday party, or just craving something festive and cool, this No Bake Peppermint Cheesecake checks every box. It’s easy, beautiful, flavorful, and guaranteed to become a winter tradition.
Servings & Time
Servings: 8–10 slices
Prep Time: 20 minutes
Chill Time: 4–6 hours
Total Time: 4 hours 20 minutes
Ingredients
Crust
-
22 Oreo cookies
-
3 tbsp melted butter
-
1 tbsp sugar
Filling
-
16 oz cream cheese, softened
-
16 oz heavy cream
-
1 cup granulated sugar
-
¼ cup powdered sugar
-
1 tsp peppermint extract
-
6 drops pink food coloring (adjust to preference)
Instructions
Crust
-
Crush Oreo cookies into fine crumbs using a food processor or rolling pin.
-
Mix crumbs with melted butter and sugar until evenly coated.
-
Press mixture firmly into the bottom of a 9-inch springform pan.
-
Chill crust in the refrigerator while preparing the filling.
Filling
-
Beat softened cream cheese until smooth and fluffy, about 1–2 minutes.
-
Add granulated sugar and powdered sugar, mixing until fully combined.
-
Pour in heavy cream and whip until thick, creamy, and airy.
-
Mix in peppermint extract.
-
Add pink food coloring and blend until the color is evenly distributed.
-
Spread filling over the chilled crust, smoothing the top.
-
Refrigerate for at least 4–6 hours, or until fully set.
-
Slice and serve chilled.
Tips
Ingredient Substitutions
-
Swap Oreo crust for graham crackers for a lighter flavor.
-
Use whipped topping instead of heavy cream for a shortcut.
-
Replace peppermint extract with vanilla for a milder flavor.
Make-Ahead & Storage
-
Chill cheesecake up to 24 hours before serving for the best texture.
-
Store leftovers covered in the fridge for up to 5 days.
-
Freeze slices individually for up to 2 months.
Serving Variations
-
Top with crushed candy canes for extra peppermint crunch.
-
Add chocolate shavings or ganache for a richer twist.
-
Serve in jars for cute, single-serve holiday desserts.
Avoid Common Mistakes
-
Do not skip chilling — the cheesecake needs time to firm.
-
Ensure cream cheese is softened to avoid lumps.
-
Whip heavy cream fully to achieve proper structure.
No Bake Peppermint Cheesecake
Ingredients
Crust
- 22 Oreo cookies
- 3 tbsp melted butter
- 1 tbsp sugar
Filling
- 16 oz cream cheese softened
- 16 oz heavy cream
- 1 cup granulated sugar
- ¼ cup powdered sugar
- 1 tsp peppermint extract
- 6 drops pink food coloring adjust to preference
Instructions
Crust
- Crush Oreo cookies into fine crumbs using a food processor or rolling pin.
- Mix crumbs with melted butter and sugar until evenly coated.
- Press mixture firmly into the bottom of a 9-inch springform pan.
- Chill crust in the refrigerator while preparing the filling.
Filling
- Beat softened cream cheese until smooth and fluffy, about 1–2 minutes.
- Add granulated sugar and powdered sugar, mixing until fully combined.
- Pour in heavy cream and whip until thick, creamy, and airy.
- Mix in peppermint extract.
- Add pink food coloring and blend until the color is evenly distributed.
- Spread filling over the chilled crust, smoothing the top.
- Refrigerate for at least 4–6 hours, or until fully set.
- Slice and serve chilled.
Notes
Ingredient Substitutions
- Swap Oreo crust for graham crackers for a lighter flavor.
- Use whipped topping instead of heavy cream for a shortcut.
- Replace peppermint extract with vanilla for a milder flavor.
Make-Ahead & Storage
- Chill cheesecake up to 24 hours before serving for the best texture.
- Store leftovers covered in the fridge for up to 5 days.
- Freeze slices individually for up to 2 months.
Serving Variations
- Top with crushed candy canes for extra peppermint crunch.
- Add chocolate shavings or ganache for a richer twist.
- Serve in jars for cute, single-serve holiday desserts.
Avoid Common Mistakes
- Do not skip chilling — the cheesecake needs time to firm.
- Ensure cream cheese is softened to avoid lumps.
- Whip heavy cream fully to achieve proper structure.