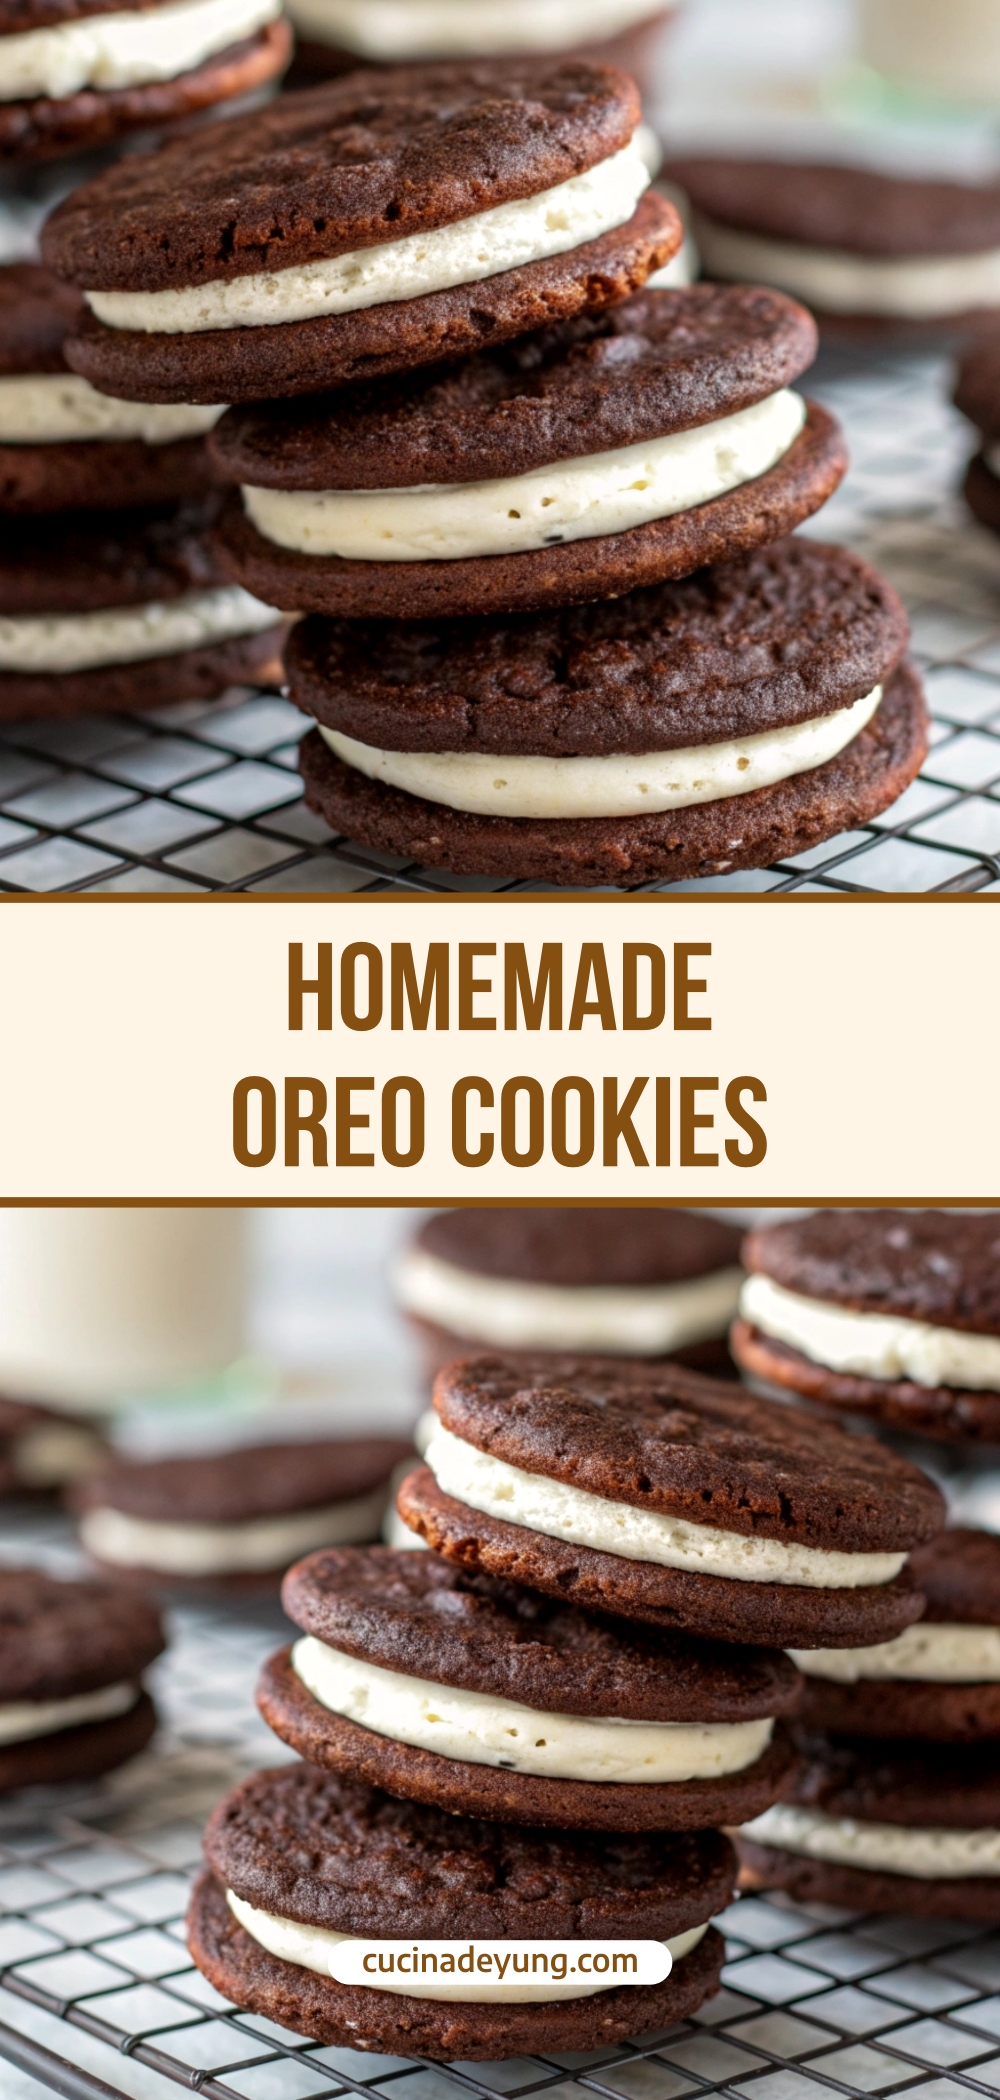
These Homemade Oreo Cookies are everything you love about the classic—crisp, deeply chocolatey cookies sandwiched around a sweet, creamy filling—but made fresher, richer, and infinitely more delicious. This recipe uses real cocoa, melted chocolate, and buttery dough to create cookies that taste gourmet yet comforting. Perfect for gifting, snacking, and dipping in a cold glass of milk.
Why You’ll Love This Recipe
This recipe creates authentic, bakery-quality Oreo-style cookies at home using simple pantry staples. You get a more intense chocolate flavor, a smoother vanilla cream filling, and cookies that stay crunchy yet tender for days. Unlike store-bought versions, you can control sweetness, textures, sizes, and flavor variations—making them perfect for holidays, parties, or homemade treats your family will request on repeat. If you love Oreos, these are guaranteed to become your new favorite homemade dessert.
Homemade Oreo Cookies
There’s something undeniably nostalgic about Oreo cookies—the crunch, the chocolate punch, the creamy filling, the ritual of twisting them apart. And while the store-bought version is iconic, making Homemade Oreo Cookies from scratch elevates the experience into something truly special. These cookies deliver the same classic satisfaction but with richer flavor, higher-quality ingredients, and a freshness you simply can’t get from a package.
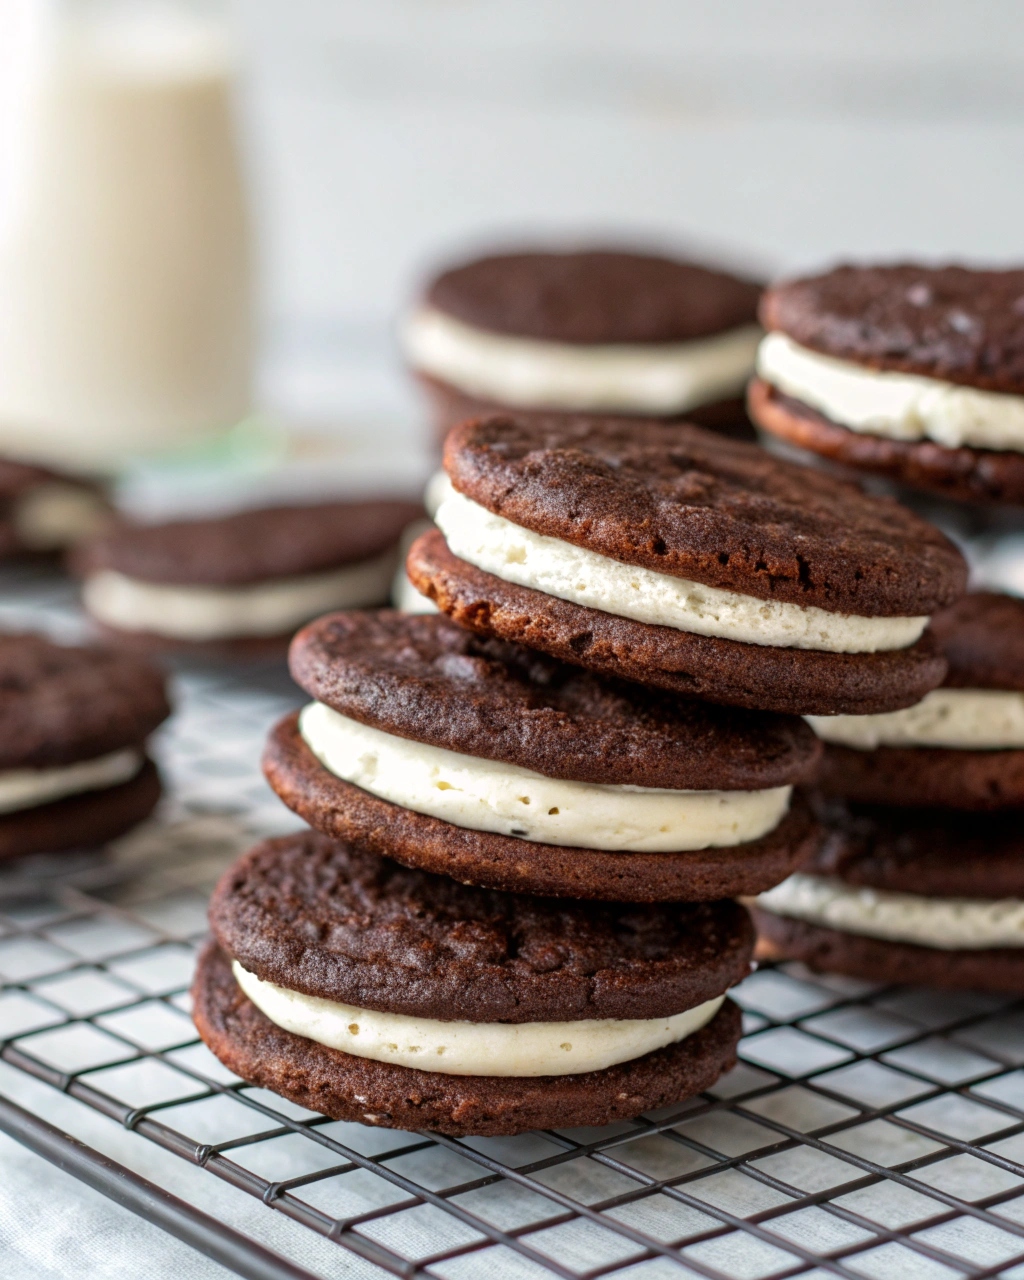
The base of these cookies is a deeply chocolatey dough made with cocoa powder, melted chocolate, and melted butter. This trio creates a rich, dark chocolate wafer that’s crisp at the edges, slightly tender in the center, and full of luxurious cocoa intensity. Unlike mass-produced cookies, these homemade versions taste like gourmet chocolate biscuits designed for real indulgence.
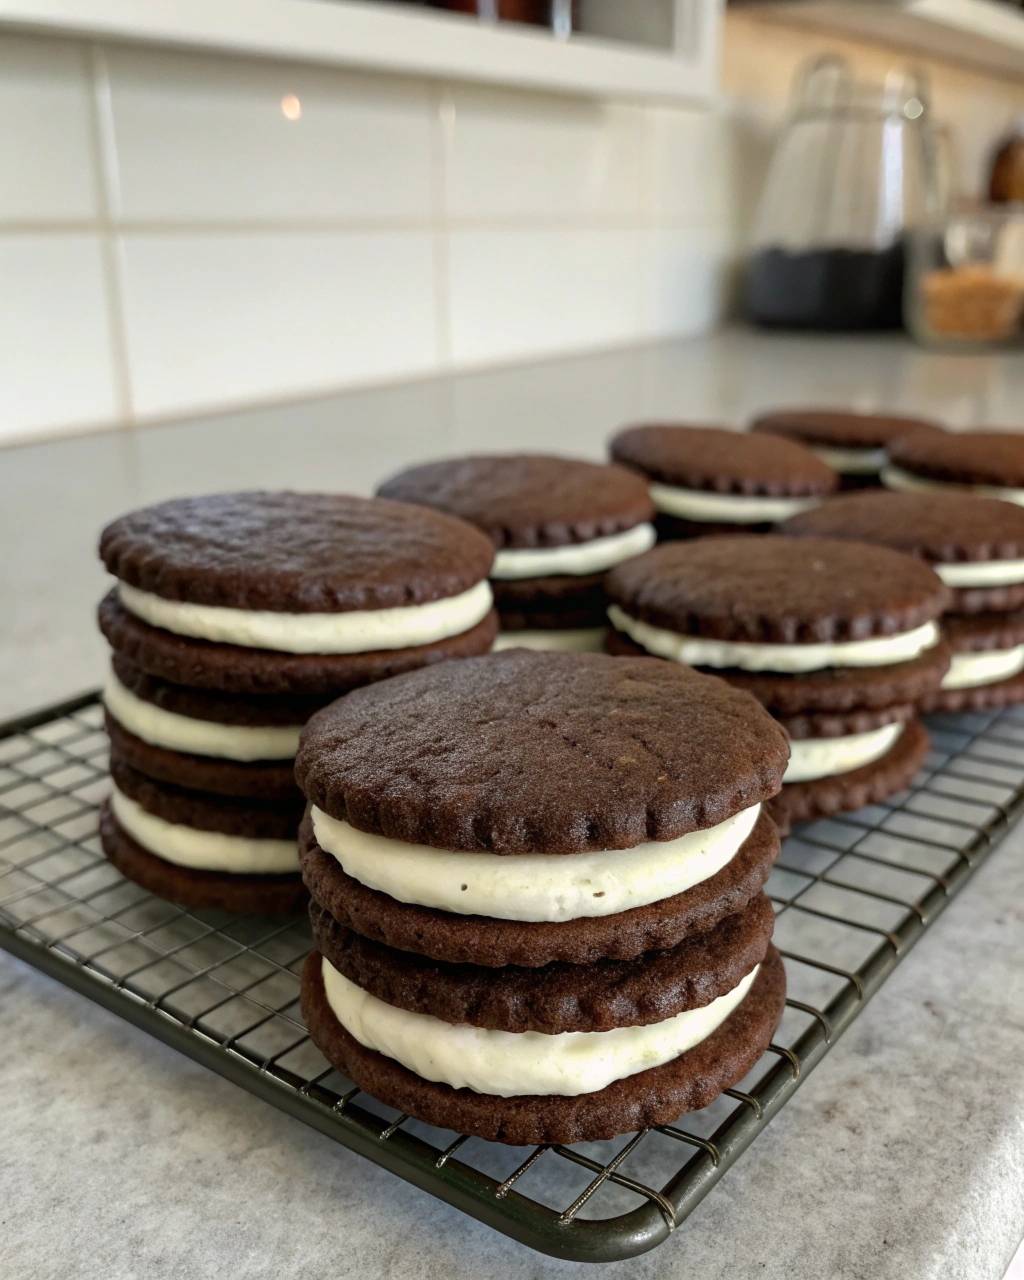
One of the things that makes this recipe exceptional is the combination of textures. The cookies themselves are firm enough to sandwich, yet tender enough to break with a clean snap. When paired with the creamy vanilla filling, every bite becomes a perfect balance of crunch and softness—just as a classic sandwich cookie should be.
The preparation method also adds to their appeal. By chilling the dough twice—first after mixing, and again after shaping into logs—you ensure clean slicing, perfect circles, and consistent baking. This technique gives the cookies that signature Oreo thinness without spreading or cracking in the oven.
Another reason these Homemade Oreo Cookies stand out is their versatility. You can make them thin and crisp like the originals, thicker for a more decadent bite, or cut them into fun shapes for special occasions. You can even customize the filling with peppermint, lemon, peanut butter, or espresso for creative variations.
The filling itself is velvety, smooth, and wonderfully sweet. A blend of butter, confectioners’ sugar, vanilla, and milk, it tastes like a cross between classic buttercream and the traditional Oreo cream. When sandwiched between the chocolate wafers, it creates the unmistakable flavor that Oreo lovers adore.
These cookies also make a heartfelt homemade gift. Wrapped in cellophane bags, stored in cookie tins, or arranged on dessert boards, they look elegant and festive. Their long shelf-life and sturdy structure make them great for parties, cookie exchanges, or shipping to loved ones.
For families, this recipe is an opportunity to bake together, shape dough logs, and assemble cookie sandwiches. Kids especially love helping with the filling and pressing the cookies together. It’s a bonding experience that creates memories as sweet as the treats themselves.
And let’s not forget the best part—dipping. These cookies hold up beautifully when dunked into milk, hot chocolate, or even coffee. Because they are slightly thicker and made with real chocolate, they soften just enough without falling apart, creating the perfect dunking cookie.
Whether you’re an Oreo purist or a dessert enthusiast looking to elevate a beloved classic, these Homemade Oreo Cookies deliver everything you crave. They’re rich, nostalgic, customizable, and endlessly satisfying—proof that some treats really are better when made from scratch.
Servings & Time
Servings: 20–24 sandwich cookies
Prep Time: 25 minutes
Chill Time: 3 hours
Cook Time: 20 minutes
Total Time: 3 hours 45 minutes
Ingredients
Dry Ingredients
-
1½ cups flour
-
½ tsp salt
-
1 cup cocoa powder
-
½ tsp baking soda
Wet Ingredients
-
1 cup sugar
-
1 large egg
-
1 tsp vanilla
-
2 sticks (1 cup) butter, melted
-
1 cup semi-sweet chocolate chips, melted
Cream Filling
-
¼ cup butter, softened
-
1 cup confectioners’ sugar
-
½ tsp vanilla
-
1–2 tbsp milk
Instructions
-
Preheat oven to 325°F and line a baking sheet with parchment.
-
Sift flour, salt, cocoa powder, and baking soda; set aside.
-
In a stand mixer, beat sugar, egg, and vanilla until creamy.
-
Melt butter and chocolate chips separately; combine them.
-
With mixer running, pour chocolate-butter mixture into the bowl.
-
Slowly add dry ingredients until a sticky dough forms.
-
Chill dough in the refrigerator for 1 hour.
-
Divide dough into two equal parts and shape into 2-inch-wide logs.
-
Wrap logs in plastic wrap and chill 2 hours or overnight.
-
Slice logs into ¼-inch rounds (rest dough 10 minutes if very firm).
-
Cut into cleaner circles using a 2-inch cookie cutter (optional).
-
Place slices on baking sheet and bake 20 minutes.
-
Cool 5 minutes, then transfer to a wire rack.
-
Mix all filling ingredients until smooth and creamy.
-
Spread 1 tsp filling onto one cookie and top with a second cookie.
-
Gently press to spread filling evenly; repeat with remaining cookies.
Tips
Ingredient Substitutions
-
Swap semi-sweet chocolate chips with dark chocolate for deeper flavor.
-
Use Dutch-processed cocoa for a darker, more Oreo-like result.
-
Add peppermint, orange, or almond extract to filling for variations.
Make-Ahead & Storage
-
Store cookies in an airtight container up to 1 week.
-
Freeze dough logs for up to 2 months.
-
Assemble cookies just before serving for maximum crunch.
Serving Variations
-
Dip half the finished cookie in chocolate for a festive look.
-
Turn them into Oreo ice cream sandwiches.
-
Crumble cookies as toppings for cakes or sundaes.
Avoid Common Mistakes
-
Don’t skip chilling—warm dough spreads and loses shape.
-
Don’t slice too thick or cookies will bake unevenly.
-
Don’t overbake; cookies firm up as they cool.
Homemade Oreo Cookies
Ingredients
Dry Ingredients
- 1½ cups flour
- ½ tsp salt
- 1 cup cocoa powder
- ½ tsp baking soda
Wet Ingredients
- 1 cup sugar
- 1 large egg
- 1 tsp vanilla
- 2 sticks 1 cup butter, melted
- 1 cup semi-sweet chocolate chips melted
Cream Filling
- ¼ cup butter softened
- 1 cup confectioners’ sugar
- ½ tsp vanilla
- 1 –2 tbsp milk
Instructions
- Preheat oven to 325°F and line a baking sheet with parchment.
- Sift flour, salt, cocoa powder, and baking soda; set aside.
- In a stand mixer, beat sugar, egg, and vanilla until creamy.
- Melt butter and chocolate chips separately; combine them.
- With mixer running, pour chocolate-butter mixture into the bowl.
- Slowly add dry ingredients until a sticky dough forms.
- Chill dough in the refrigerator for 1 hour.
- Divide dough into two equal parts and shape into 2-inch-wide logs.
- Wrap logs in plastic wrap and chill 2 hours or overnight.
- Slice logs into ¼-inch rounds (rest dough 10 minutes if very firm).
- Cut into cleaner circles using a 2-inch cookie cutter (optional).
- Place slices on baking sheet and bake 20 minutes.
- Cool 5 minutes, then transfer to a wire rack.
- Mix all filling ingredients until smooth and creamy.
- Spread 1 tsp filling onto one cookie and top with a second cookie.
- Gently press to spread filling evenly; repeat with remaining cookies.
Notes
Ingredient Substitutions
- Swap semi-sweet chocolate chips with dark chocolate for deeper flavor.
- Use Dutch-processed cocoa for a darker, more Oreo-like result.
- Add peppermint, orange, or almond extract to filling for variations.
Make-Ahead & Storage
- Store cookies in an airtight container up to 1 week.
- Freeze dough logs for up to 2 months.
- Assemble cookies just before serving for maximum crunch.
Serving Variations
- Dip half the finished cookie in chocolate for a festive look.
- Turn them into Oreo ice cream sandwiches.
- Crumble cookies as toppings for cakes or sundaes.
Avoid Common Mistakes
- Don’t skip chilling—warm dough spreads and loses shape.
- Don’t slice too thick or cookies will bake unevenly.
- Don’t overbake; cookies firm up as they cool.