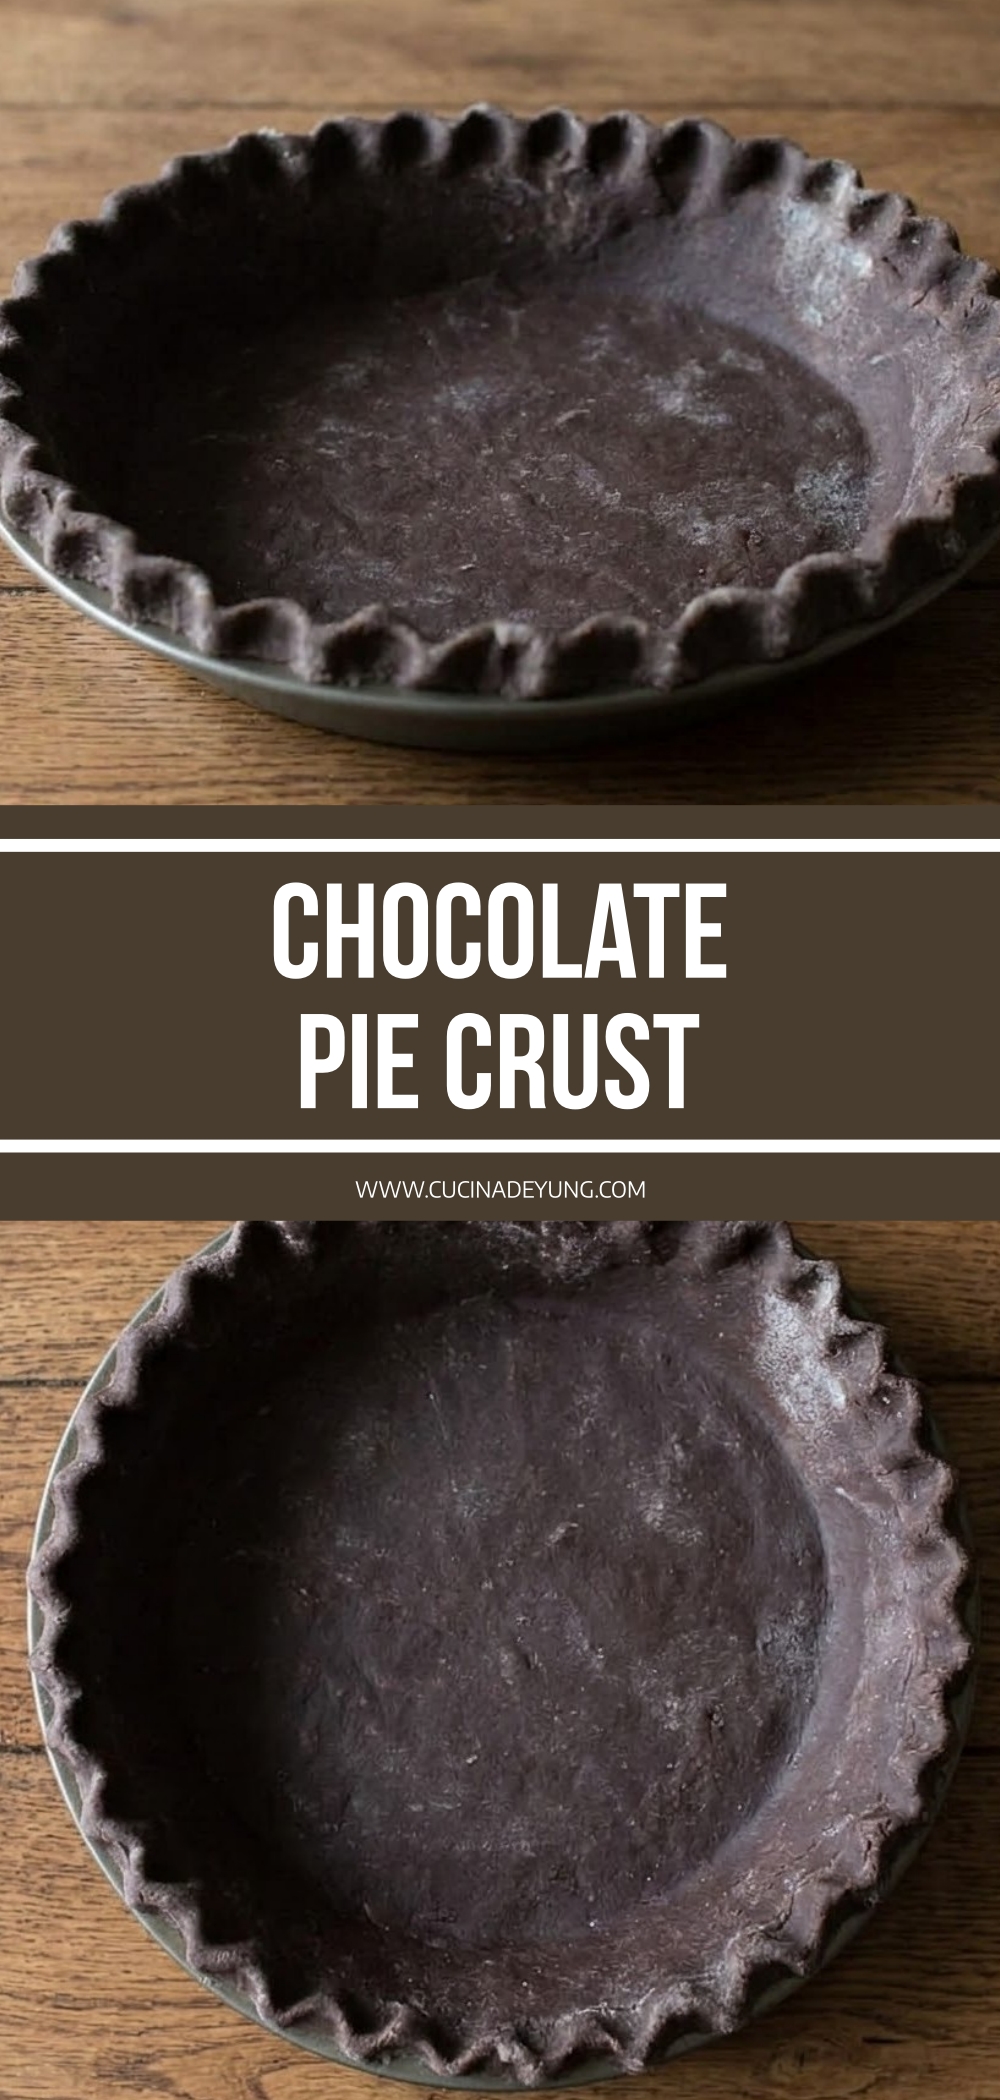
Elevate your baking with this Handmade Chocolate Pie Crust, a sophisticated and buttery foundation that far surpasses any store-bought alternative. By blending premium cocoa powders with a unique folding technique, this crust achieves a pastry-shop level of flakiness and a deep, bittersweet chocolate aroma. It is the ideal structural base for cream pies, fruit tarts, or decadent cheesecakes, offering a crisp “snap” and a rich color that makes every dessert look like a professional masterpiece.
Why You Will Love This Recipe
You will love this recipe because it combines the tender crumb of a classic French pastry with the bold, indulgent flavor of dark chocolate. The addition of a small amount of oil ensures the crust remains easy to work with, while the cold butter slices create those coveted air pockets for a truly flaky texture. It is a versatile, high-impact recipe that can be prepared in advance and chilled, making it a reliable staple for your holiday baking repertoire or any special occasion that calls for a touch of cocoa elegance.
Chocolate Pie Crust
If you are searching for the best chocolate pastry recipe, this cocoa-infused crust is a game-changer for those who want to move beyond the standard graham cracker base. While most people stick to traditional flour crusts, adding unsweetened cocoa powder introduces a sophisticated depth that balances sugary fillings like marshmallow, salted caramel, or fresh berry compote.
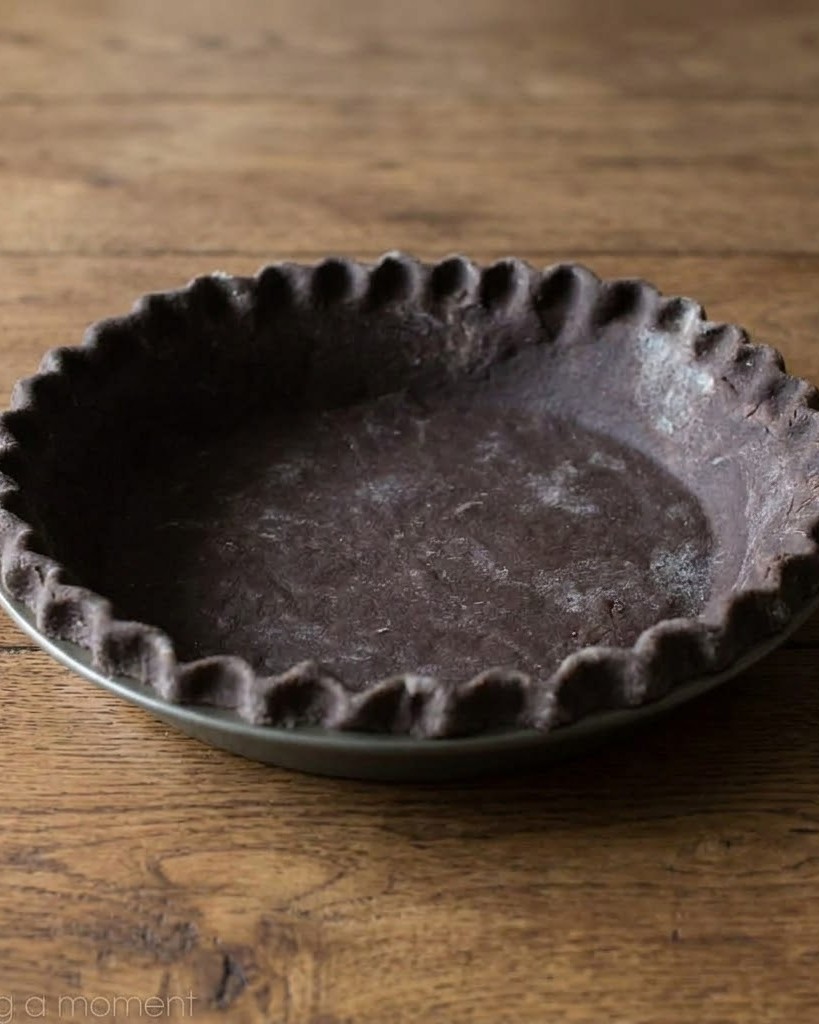
The secret to the deep chocolate flavor lies in the blend of cocoa. By using a mix of regular and dark cocoa powder, you achieve a complex profile that looks as striking as it tastes. This baking technique provides a rich, obsidian-like color that provides a stunning visual contrast to pale fillings like vanilla pastry cream or white chocolate mousse.
One of the most important pro-baking tips featured in this recipe is the use of a folding method. By rolling the dough and folding it “like a letter” multiple times, you are essentially creating layers of fat and flour—a simplified version of lamination used in croissants. This ensures that as the butter melts in the oven, it releases steam to lift the dough, resulting in a multi-layered flaky crust that is remarkably light.
Temperature control is paramount for pastry success. Using ice water and cold, sliced butter prevents the fat from melting into the flour too early. When the fat stays in distinct pieces until it hits the heat of the oven, you get a tender, shortcrust texture rather than a tough, bread-like one. This is why the minimum 2-hour chill time is non-negotiable; it allows the gluten to relax and the fats to re-solidify.
For those concerned about dough elasticity, the addition of two tablespoons of oil is a brilliant kitchen hack. The oil coats the flour proteins, limiting gluten development and ensuring the crust stays “short” and melt-in-your-mouth tender, while also making the dough more supple and less prone to cracking when you roll it out.
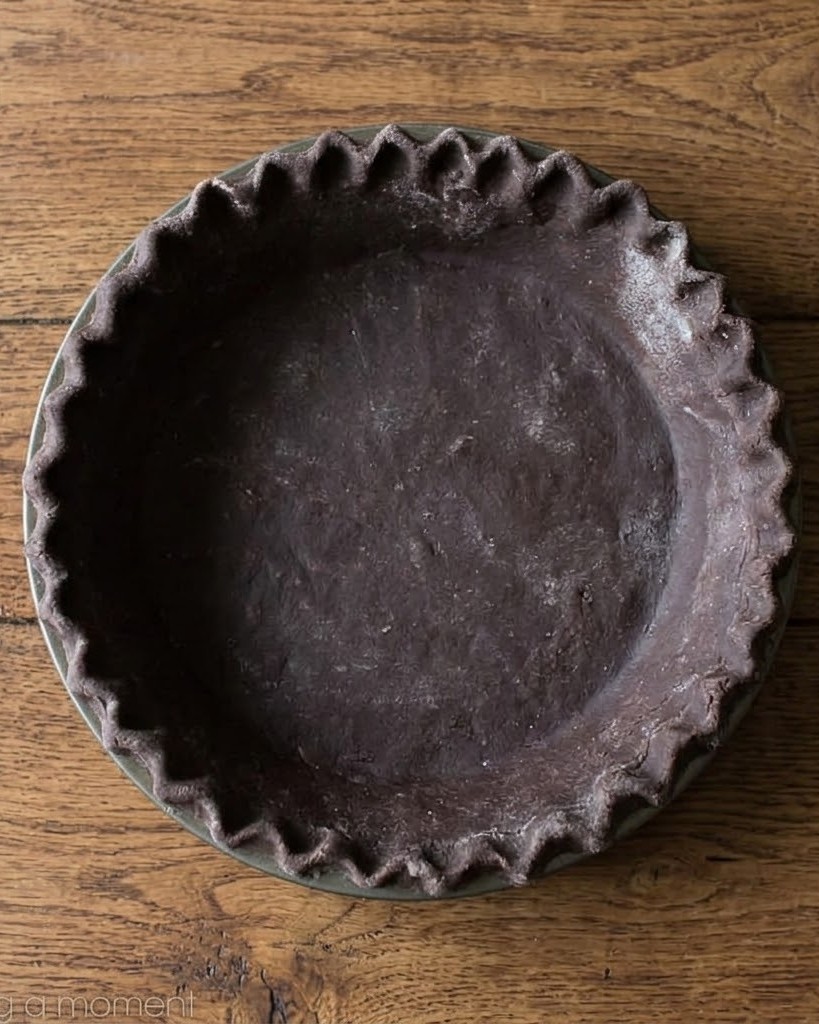
Plating and finishing this crust allows for incredible visual appeal. The ability to roll and crimp the edges gives your pie a rustic, artisanal look. Whether you choose a classic flute or a modern braided edge, the dark chocolate hue makes the intricate details of your handiwork stand out beautifully.
This recipe also offers an emotional connection to traditional home baking. The process of whisking, rolling, and folding by hand is a meditative experience that connects you to the craft of pastry-making. It’s the kind of from-scratch recipe that turns a simple dessert into a heartfelt gift for friends and family.
From a versatility standpoint, this chocolate crust is a blank canvas. You can add a pinch of cinnamon for a Mexican chocolate vibe or a touch of espresso powder to further intensify the cocoa notes. It’s a staple recipe that adapts to almost any sweet filling you can imagine.
Ultimately, the Homemade Chocolate Pie Crust is about bringing a touch of gourmet flair to your kitchen. It proves that with a little patience and the right technique, you can create a world-class pastry that is as delicious as it is beautiful.
Servings & Time
-
Servings: 1 Pie Crust (for a 9-inch pie)
-
Prep Time: 20 minutes
-
Chilling Time: 3 hours (total)
-
Total Time: 3 hours 20 minutes
Ingredients
-
1 cup All-Purpose Flour
-
1/4 cup Unsweetened Cocoa Powder (Try 2 tbsp regular + 2 tbsp dark cocoa for best color)
-
2 tbsp Granulated Sugar
-
1/2 tsp Kosher Salt
-
2 tbsp Neutral Oil (like vegetable or canola)
-
1/4 cup (1/2 stick) Cold Unsalted Butter, cut into 1/4-inch slices
-
3 to 5 tbsp Ice Water
Instructions
-
Whisk the Dry Ingredients: In a large mixing bowl, whisk together the flour, cocoa powder, sugar, and salt until the color is uniform and no lumps of cocoa remain.
-
Incorporate the Oil: Stir in the 2 tablespoons of oil. Use a fork or pastry blender until the mixture looks like coarse meal or wet sand.
-
Add the Butter: Toss in the cold butter slices, coating them in the flour mixture. Do not over-mix; you want the butter to remain in distinct, cold pieces.
-
Form the Dough: Add ice water one tablespoon at a time. Stir gently until the dough just begins to clump together and can be gathered into a ball. Wrap in plastic and chill for 1 hour.
-
The Lamination (Folding): On a lightly floured surface, roll the dough into a rectangle about 1/2-inch thick. Fold it into thirds (top down, bottom up) like a letter. Roll out again to 1/2-inch thick, turn 90 degrees, and repeat this process two more times.
-
Final Chill: Wrap the folded dough tightly in plastic wrap and refrigerate for a minimum of 2 hours (or overnight) to allow the layers to set.
-
Roll and Fit: Dust your work surface with flour. Roll the dough out until it is 1–2 inches larger than your pie plate. Carefully roll the dough around your rolling pin to transfer it to the dish.
-
Trim and Crimp: Trim any overhanging edges, then roll the excess under itself and crimp the edges with your fingers or a fork for a decorative finish.
Tips
-
Stay Cold: If the dough feels like it’s getting too soft or sticky during the folding process, pop it back into the freezer for 5–10 minutes before continuing.
-
Cocoa Quality: Since cocoa is a primary flavor, use the best quality you can find. “Dutch-processed” cocoa will give you a darker, smoother flavor.
-
Prevent Shrinking: After fitting the dough into your pie plate, chill it for another 15 minutes before baking to prevent the edges from sliding down.
-
Blind Baking: If your recipe calls for a pre-baked crust, line the dough with parchment paper and fill with pie weights or dried beans. Bake at 375°F for 15 minutes, remove weights, and bake for another 5–10 minutes.
Chocolate Pie Crust
Ingredients
- 1 cup All-Purpose Flour
- 1/4 cup Unsweetened Cocoa Powder Try 2 tbsp regular + 2 tbsp dark cocoa for best color
- 2 tbsp Granulated Sugar
- 1/2 tsp Kosher Salt
- 2 tbsp Neutral Oil like vegetable or canola
- 1/4 cup 1/2 stick Cold Unsalted Butter, cut into 1/4-inch slices
- 3 to 5 tbsp Ice Water
Instructions
- Whisk the Dry Ingredients: In a large mixing bowl, whisk together the flour, cocoa powder, sugar, and salt until the color is uniform and no lumps of cocoa remain.
- Incorporate the Oil: Stir in the 2 tablespoons of oil. Use a fork or pastry blender until the mixture looks like coarse meal or wet sand.
- Add the Butter: Toss in the cold butter slices, coating them in the flour mixture. Do not over-mix; you want the butter to remain in distinct, cold pieces.
- Form the Dough: Add ice water one tablespoon at a time. Stir gently until the dough just begins to clump together and can be gathered into a ball. Wrap in plastic and chill for 1 hour.
- The Lamination (Folding): On a lightly floured surface, roll the dough into a rectangle about 1/2-inch thick. Fold it into thirds (top down, bottom up) like a letter. Roll out again to 1/2-inch thick, turn 90 degrees, and repeat this process two more times.
- Final Chill: Wrap the folded dough tightly in plastic wrap and refrigerate for a minimum of 2 hours (or overnight) to allow the layers to set.
- Roll and Fit: Dust your work surface with flour. Roll the dough out until it is 1–2 inches larger than your pie plate. Carefully roll the dough around your rolling pin to transfer it to the dish.
- Trim and Crimp: Trim any overhanging edges, then roll the excess under itself and crimp the edges with your fingers or a fork for a decorative finish.
Notes
- Stay Cold: If the dough feels like it's getting too soft or sticky during the folding process, pop it back into the freezer for 5–10 minutes before continuing.
- Cocoa Quality: Since cocoa is a primary flavor, use the best quality you can find. "Dutch-processed" cocoa will give you a darker, smoother flavor.
- Prevent Shrinking: After fitting the dough into your pie plate, chill it for another 15 minutes before baking to prevent the edges from sliding down.
- Blind Baking: If your recipe calls for a pre-baked crust, line the dough with parchment paper and fill with pie weights or dried beans. Bake at 375°F for 15 minutes, remove weights, and bake for another 5–10 minutes.