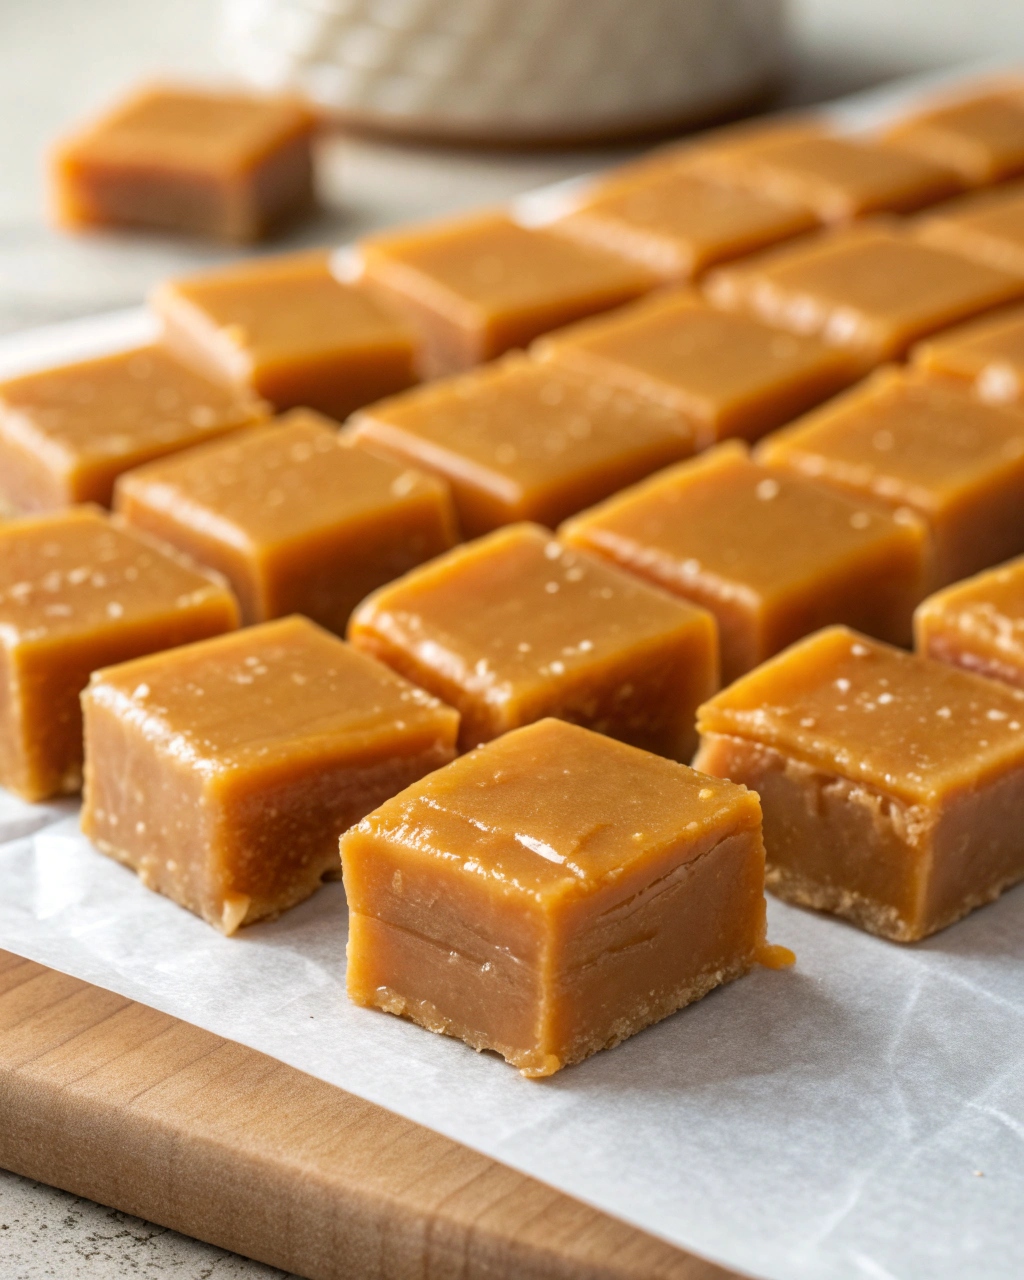
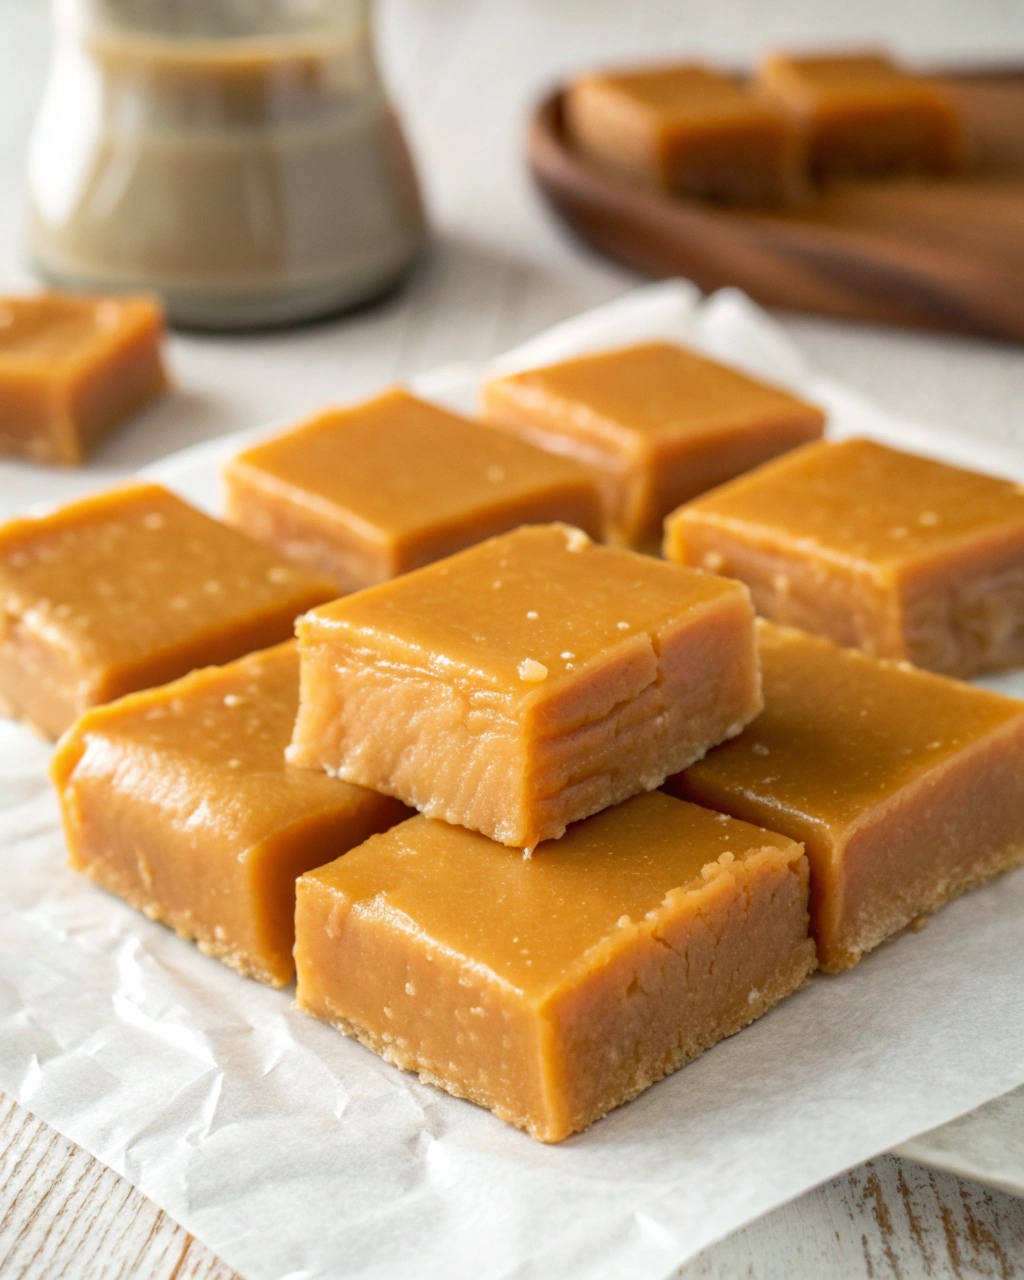
These homemade caramels are rich, buttery, and perfectly chewy with a smooth melt-in-your-mouth texture. Made with simple pantry ingredients like sugar, cream, butter, and vanilla, they cook into a classic soft caramel that feels nostalgic and luxurious at the same time. This recipe delivers dependable results and deep caramel flavor, making it ideal for holiday candy making, edible gifts, or stocking your kitchen with a timeless homemade treat.
Why You Will Love This Recipe
You’ll love this homemade caramel recipe because it creates soft, creamy caramels with that classic old-fashioned texture people crave. There’s no complicated technique beyond careful heating, and the ingredient list is straightforward and reliable. These caramels wrap beautifully, store well, and make thoughtful gifts for holidays, birthdays, or special occasions. The flavor is deeply caramelized without being bitter, balanced with butter and cream for richness, and finished with vanilla for warmth. Once you make them from scratch, store-bought caramels won’t compare.
Homemade Caramels
Homemade caramels are one of those recipes that feel special the moment you start making them. The slow simmer, the gentle bubbling, and the sweet aroma filling the kitchen all signal that something timeless is taking shape.
This recipe focuses on classic American-style soft caramels. They’re chewy but tender, rich without being heavy, and smooth instead of grainy.
Caramel making may sound intimidating, but it’s really about patience and attention. With a candy thermometer and steady heat, the process becomes surprisingly approachable.
The combination of white sugar and brown sugar adds depth. White sugar provides structure, while brown sugar contributes molasses notes that deepen the flavor.
Corn syrup plays an important role here. It helps prevent crystallization, ensuring the finished caramels stay silky and smooth instead of gritty.
Using both evaporated milk and heavy cream creates balance. The evaporated milk adds body, while the cream brings richness and softness.
Butter is what gives these caramels their luxurious mouthfeel. As it melts into the sugar mixture, it rounds out the sweetness and adds that classic buttery finish.
Cooking the caramel to the soft-ball stage is key. Around 245°F, the sugars have concentrated enough to set properly while staying pleasantly chewy.
Stirring occasionally, not constantly, helps prevent scorching while still allowing the mixture to cook evenly.
Once the caramel reaches temperature, vanilla is added off the heat. This preserves its aroma and keeps the flavor clean and fragrant.
Pouring the caramel into a wide, greased pan allows it to cool evenly. As it sets, the texture firms up just enough for clean slicing.
These caramels are perfect for gifting. Wrapped in wax paper, they look charming and feel personal in a way store-bought candy never does.
They’re also ideal for the holidays. A batch of homemade caramels instantly feels festive and generous.
Because they store well, you can make them ahead and enjoy them over time without losing quality.
This recipe isn’t just about candy. It’s about slowing down, trusting the process, and enjoying the satisfaction of making something truly classic by hand.
Servings & Time
-
Servings: About 80 small caramels
-
Prep Time: 10 minutes
-
Cook Time: 30–40 minutes
-
Cooling Time: 2 hours
-
Total Time: About 3 hours
Ingredients
-
1 cup unsalted butter
-
2 cups granulated white sugar
-
1 cup packed brown sugar
-
1 cup corn syrup
-
1 cup evaporated milk
-
2 cups heavy whipping cream
-
1 1/4 teaspoons vanilla extract
Instructions
-
Grease a 12 x 15-inch pan thoroughly and set aside.
-
In a medium, heavy-bottomed pot, combine the butter, white sugar, brown sugar, corn syrup, evaporated milk, and heavy cream.
-
Place the pot over medium heat and stir gently until the butter melts and the mixture is fully combined.
-
Attach a candy thermometer to the side of the pot, making sure it doesn’t touch the bottom.
-
Continue cooking, stirring occasionally to prevent scorching, as the mixture slowly comes to a boil.
-
Monitor the temperature closely and allow the caramel to cook until it reaches 245°F for a soft but chewy texture.
-
Immediately remove the pot from the heat and carefully stir in the vanilla extract.
-
Pour the hot caramel into the prepared pan, spreading it evenly.
-
Let the caramel cool completely at room temperature until fully set.
-
Once cooled, cut into small squares and wrap each piece in wax paper for storage.
Tips
-
Thermometer Accuracy: Test your candy thermometer in boiling water first to ensure accuracy.
-
Texture Control: For slightly softer caramels, stop cooking at 240°F.
-
Storage: Store wrapped caramels in an airtight container at room temperature for up to 2 weeks.
-
Clean Cuts: Lightly butter your knife when slicing for smoother edges.
-
Flavor Variations: Add a pinch of flaky salt on top for salted caramels.
Homemade Caramels
Ingredients
- 1 cup unsalted butter
- 2 cups granulated white sugar
- 1 cup packed brown sugar
- 1 cup corn syrup
- 1 cup evaporated milk
- 2 cups heavy whipping cream
- 1 1/4 teaspoons vanilla extract
Instructions
- Grease a 12 x 15-inch pan thoroughly and set aside.
- In a medium, heavy-bottomed pot, combine the butter, white sugar, brown sugar, corn syrup, evaporated milk, and heavy cream.
- Place the pot over medium heat and stir gently until the butter melts and the mixture is fully combined.
- Attach a candy thermometer to the side of the pot, making sure it doesn’t touch the bottom.
- Continue cooking, stirring occasionally to prevent scorching, as the mixture slowly comes to a boil.
- Monitor the temperature closely and allow the caramel to cook until it reaches 245°F for a soft but chewy texture.
- Immediately remove the pot from the heat and carefully stir in the vanilla extract.
- Pour the hot caramel into the prepared pan, spreading it evenly.
- Let the caramel cool completely at room temperature until fully set.
- Once cooled, cut into small squares and wrap each piece in wax paper for storage.
Notes
- Thermometer Accuracy: Test your candy thermometer in boiling water first to ensure accuracy.
- Texture Control: For slightly softer caramels, stop cooking at 240°F.
- Storage: Store wrapped caramels in an airtight container at room temperature for up to 2 weeks.
- Clean Cuts: Lightly butter your knife when slicing for smoother edges.
- Flavor Variations: Add a pinch of flaky salt on top for salted caramels.
