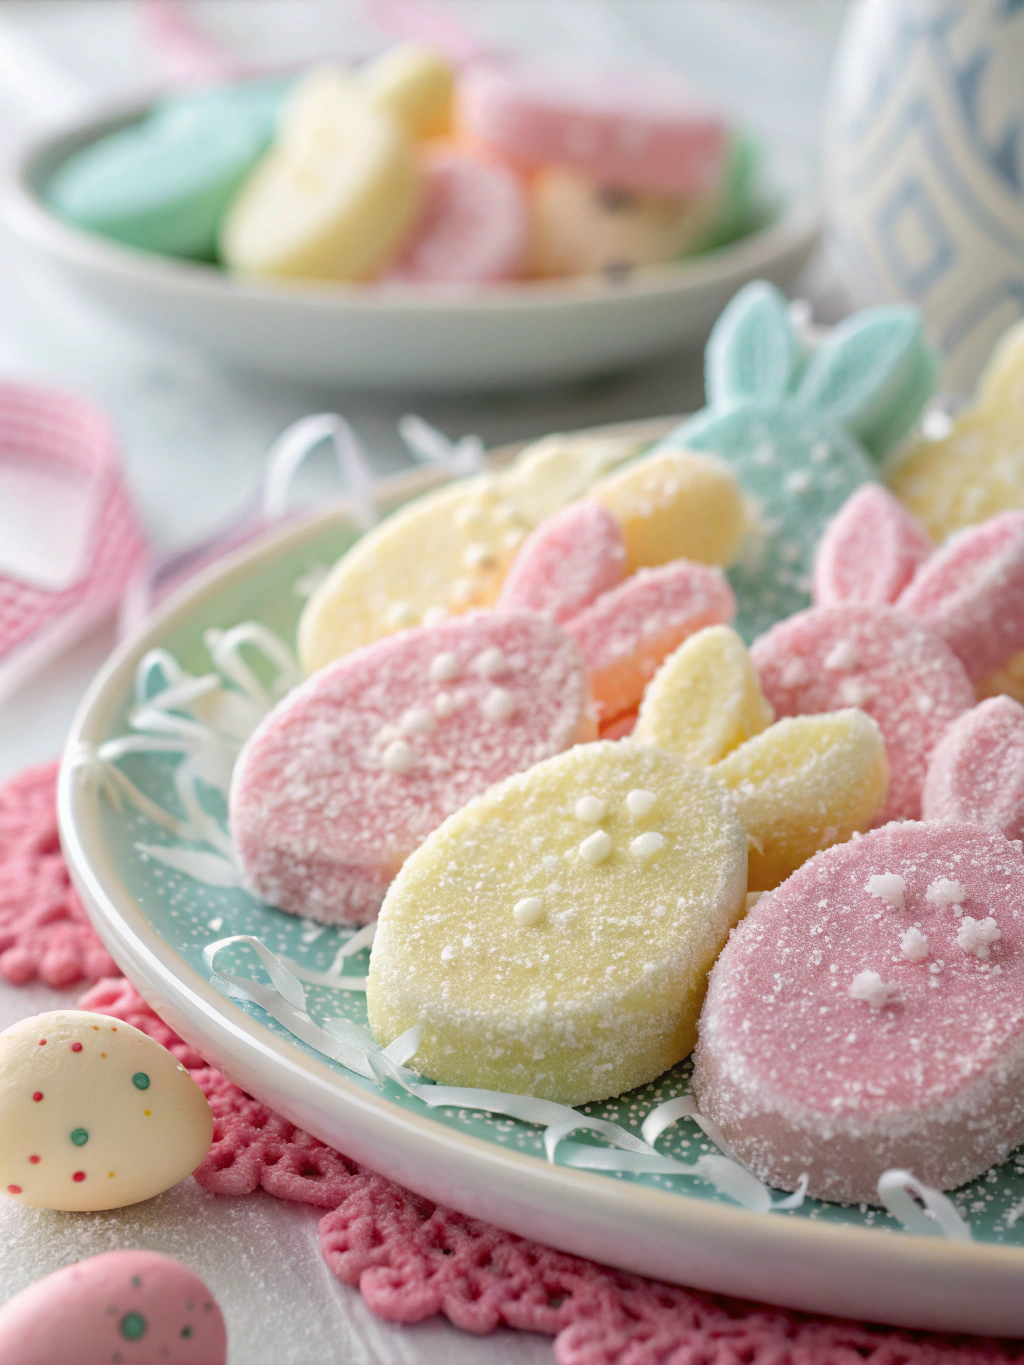
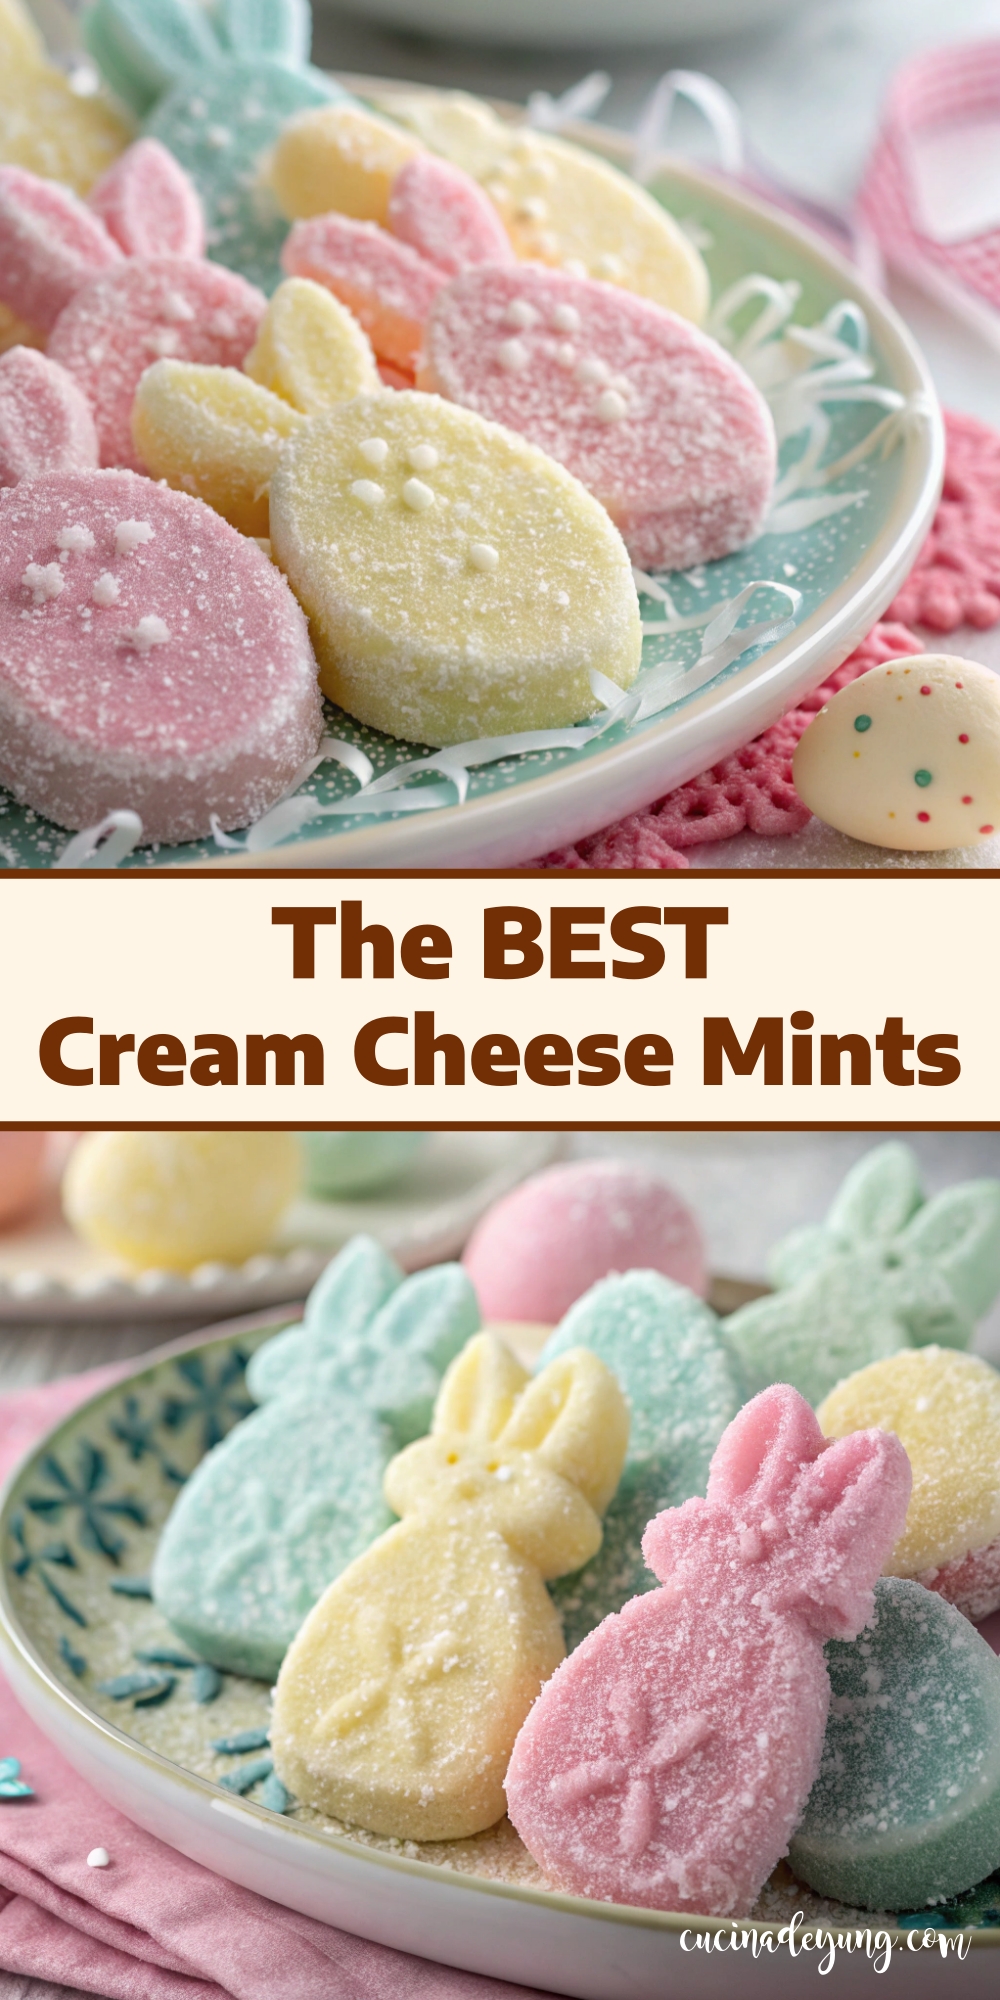
Easter is a time for sweet treats and vibrant flavors, and Cream Cheese Mints are a classic confection that adds a refreshing touch to any holiday spread. These melt-in-your-mouth delights combine the smoothness of cream cheese with the sweetness of powdered sugar, finished off with a hint of peppermint extract for a cool and refreshing twist. Whether shaped into cute Easter designs or simply formed into bite-sized rounds, these mints are a crowd-pleasing addition that’s perfect for both kids and adults alike.
One of the best things about this recipe is its simplicity. With only a handful of ingredients and no baking required, Cream Cheese Mints are easy to make and customize. They’re perfect for adding a festive flair to your Easter dessert table, and you can easily tint them in pastel colors to match the holiday theme. From soft pinks and blues to gentle yellows and greens, these colorful treats bring a bright and cheerful element to any celebration.
These mints are also incredibly versatile. You can shape them using silicone molds, roll them into small balls and flatten them with a fork, or use cookie cutters to create fun shapes like bunnies, eggs, and flowers. No matter how you choose to present them, they’re sure to be a delightful addition to your Easter festivities. Plus, they store beautifully, allowing you to make them ahead of time and have one less thing to worry about on the big day.
If you’re looking for a treat that’s both delicious and visually appealing, these mints fit the bill perfectly. Their smooth texture and sweet flavor balance out the richness of other Easter desserts, making them a refreshing palate cleanser between bites of cake, pie, or cookies. They’re also great for gifting, packaged in cute jars or boxes for family and friends to enjoy.
Another reason Cream Cheese Mints are a must-have for Easter is their make-ahead convenience. Since they need time to firm up in the refrigerator, you can prepare them a day or two before your event, freeing up your time to focus on other preparations. Plus, they last for several weeks when stored properly, making them an excellent choice for busy hosts.
These mints also allow for endless flavor variations. While peppermint is the traditional choice, you can experiment with other extracts such as vanilla, almond, or lemon to create unique flavor profiles. Add a drop or two of food coloring to match the colors of Easter and create a visually stunning display that’s as beautiful as it is delicious.
Kids love helping make these mints, which adds an extra layer of fun to the Easter preparations. From rolling the dough to shaping and decorating, little hands will enjoy getting creative with these sweet treats. It’s a great way to involve the family and create lasting memories in the kitchen.
If you’re planning an Easter brunch or dinner, these mints are the perfect finishing touch to your spread. They add a burst of sweetness that complements savory dishes and richer desserts, ensuring that your guests leave with a satisfied sweet tooth. Plus, their bite-sized nature makes them easy to enjoy without feeling overly indulgent.
Whether served as part of a dessert platter, packaged as edible gifts, or enjoyed as a sweet snack during the Easter celebration, Cream Cheese Mints are guaranteed to be a hit. Their creamy texture, refreshing flavor, and festive appearance make them an irresistible addition to any holiday menu.
Servings
- Yield: Approximately 60 mints
- Serving Size: 2-3 mints
Time
- Prep Time: 15 minutes
- Chill Time: 1 hour
- Total Time: 1 hour 15 minutes
Ingredients
- 4 oz cream cheese, softened
- 1 tablespoon unsalted butter, softened
- 3 1/2 to 4 cups powdered sugar
- 1/2 teaspoon peppermint extract (or your preferred flavor)
- Food coloring (optional)
- Granulated sugar for coating
Instructions
- Prepare the Mixture:
- In a large mixing bowl, beat the softened cream cheese and butter together until smooth and creamy.
- Add the peppermint extract and mix until fully incorporated.
- Gradually add the powdered sugar, 1 cup at a time, mixing well after each addition. Continue adding sugar until the mixture forms a smooth, stiff dough that’s easy to handle.
- Add Color (Optional):
- If using food coloring, divide the dough into separate bowls and add a few drops of your desired colors to each bowl. Mix until the color is evenly distributed.
- Shape the Mints:
- Roll the dough into small balls, about 1/2 inch in diameter.
- Roll each ball in granulated sugar to coat.
- Place the balls on a parchment-lined baking sheet and flatten them slightly with a fork or use a mold to create fun shapes.
- Chill:
- Transfer the baking sheet to the refrigerator and chill the mints for at least 1 hour, or until firm.
- Serve and Enjoy:
- Once chilled, transfer the mints to an airtight container and store them in the refrigerator until ready to serve.
Tips
- Use gel food coloring for vibrant, pastel hues without altering the consistency of the dough.
- For a variety of flavors, experiment with different extracts like almond, vanilla, or lemon.
- Store the mints in an airtight container in the refrigerator for up to 2 weeks, or freeze for longer storage.
- To prevent the mints from sticking together, place wax paper between layers when storing.
- If the dough becomes too sticky to handle, chill it for 15-20 minutes before shaping.
Summary
Cream Cheese Mints are a delightful, no-bake treat that adds a refreshing and colorful touch to any Easter celebration. Easy to make and endlessly customizable, these bite-sized confections are perfect for parties, gift-giving, and snacking. With a melt-in-your-mouth texture and the perfect balance of sweetness and coolness, they’re a holiday favorite that’s sure to impress your guests.
what size are the bunny mints?